Brief Description: Begin assembly of horizontal stab
1 of 2
Started assembly of the left side of the horizontal stabilizer. Some difficult rivets to get to for the nose rib.
One tip: When you rivet the nose rib to the top skin, rivet the forward most hole at the nose of the rib, first, with no clecos. It's easier to get it to sit flat that way. If you put in a cleco, or rivet another hole first, it's a 2 person job to hold the rib flat against the skin, while then trying to get the bucking bar in there.
The rest of the assembly went reasonably well, following the instructions.
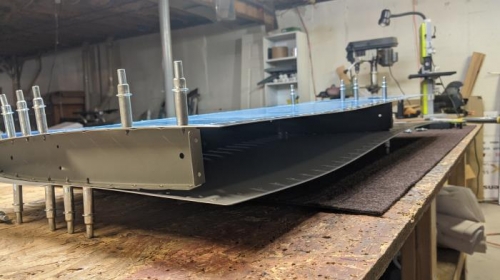
In these photos the end rib and the aft center rib, were temporarily cleco'd in place to help hold the skin against the nose rib for riveting.
Temporary ribs/clecos.
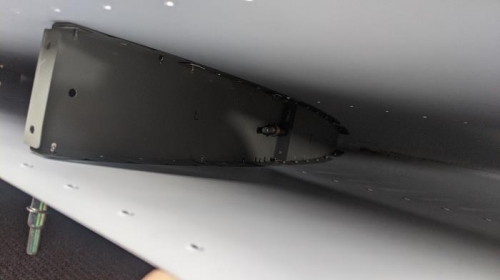
Nose rib riveted in place, with the aft center rib temporarily cleco'd.
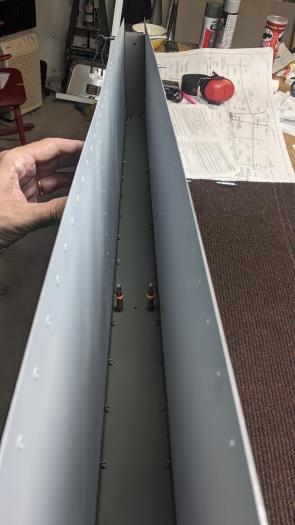
The front spar assembly inserted into the left skin.