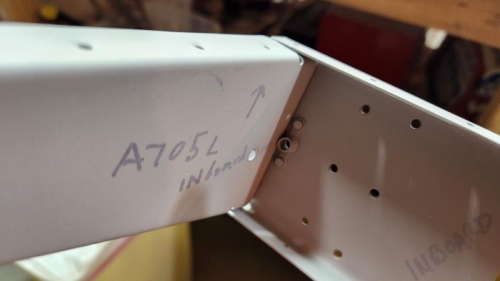
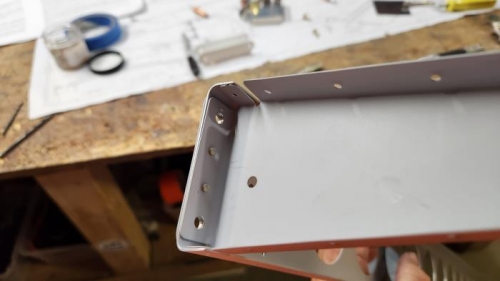
The spar ends are another place where the instructions suck, and the drawings are not nearly as clear as they should be. In a nutshell: - Align the -408 reinforcing plate with the outside edge of the spar. - Clamp it to the work table and drill through the spar holes to create the holes in the reinforcing plate. Cleco as you go so it does not move. - Debur. - Machine countersink the front face of the -408 plate, for the (2) rib rivets, and the (2) nutplate rivets. - Cleco the plate in place on the spar, and cleco the end rib in place. - Drill the #12 holes at the top and bottom of the rib, and the one offset from those two, in the center. - Disassemble and debur. - The instructions say to cleco the white painted brackets in place, but you can't! - So I just drilled the bracket with the #12 bit. It still aligned with the holes in the spar and rib. - Debur everything. - Prime paint if you are inclined (I did). - Set the nut plate with the 3-4 flush rivets. - Set the rib with the 3-4 flush rivets.
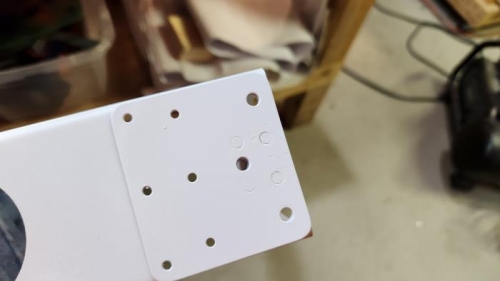
Nut plate from the back side.
I did some touch-up priming, so you may nots see the flush rivets well.