The Vans instructions here are TERRIBLE! I had to go to a couple of web sites and YouTube channels to make sure I had the process right.
The instructions never tell you to put the z-brackets on, and then don't tell you to put the baffle on the brackets. The instructions tell you that the baffle is "still on the spar," when they never told you to do it.
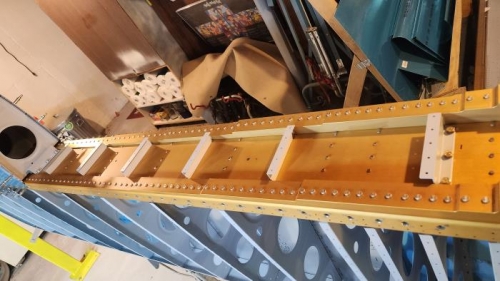
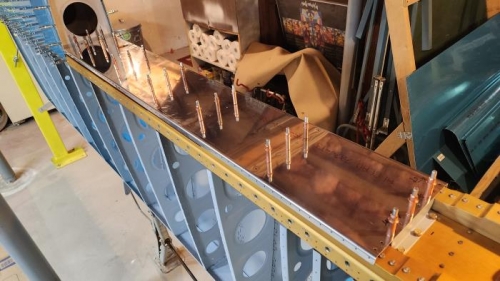
So the process is: 1. Attach the z-brackets, but leave them slightly loose. 2. Cleco the tank baffle to the z-brackets. 3. Snug down the bolts.
Go back to work on the tank. I'm going to do as some others have, and put the tank fully together (skin, ribs & baffle) and THEN put the tank onto the spar to check everything for alignment. After checking, THEN the skin can come off and the holes can be match drilled between the ribs and the baffles.
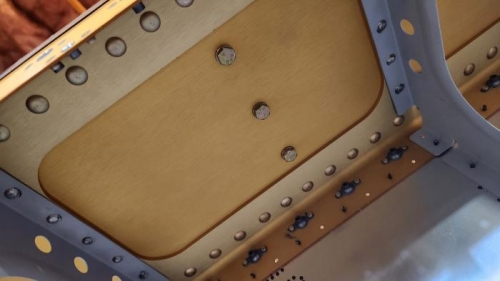
I prime painted the z-brackets, which made sense at first. Then I realized that the face against the baffle will get ProSeal, so that face and the rivet holes should not have primer. The rest of the brackets are OK for primer. So I'll have to remove the primer where the brackets meet the baffle.