I ran out of primer for the RIGHT wing ribs, so I moved to the LEFT wing assembly. It all goes so much faster when you've done it once before (right wing)!
I'll say it again, Vans' instructions are not very good. I'll stop short of calling them crap, but it's close. So many things they don't tell you. So many things you HOPE you got right. If someone at the factory spent a week on the instructions, and filled in a LOT of gaps, they could be really good.
After cleco'ing the ribs, The front and rear spar attach holes got final drilled. Then I upsized one of the forward tooling holes to 7/16" to accept a snap-in bushing if I end up adding an AOA.
Then I used the unibit to drill the 7/8" holes for the plastic conduit for the wingtip lighting wiring.
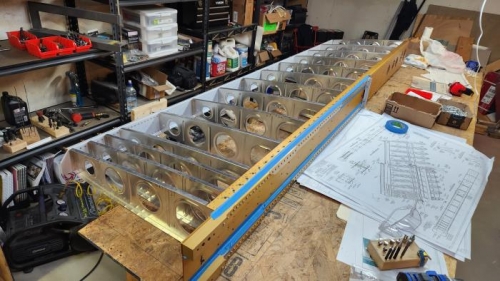
Left wing first assembly
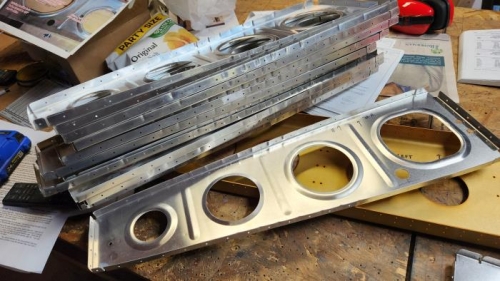
Ribs after all drilling. Still need deburring.
On left, bottom hole is tooling hole up-sized. Big hole on right is for conduit.