Brief Description: Part Six Wiring of Instrument Panel
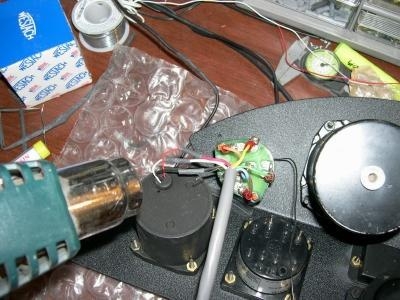
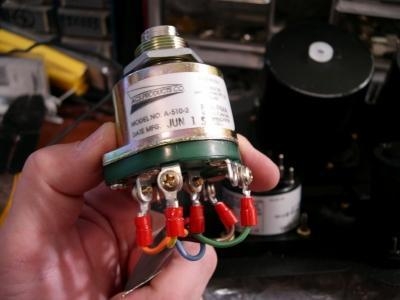
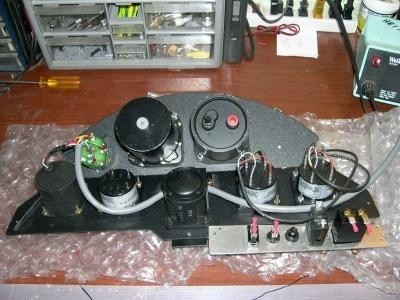
Photo 1: Here I am using a heat gun made for shrinking tubing. If you purchase one, be careful not to apply too much heat or to overheat surrounding materials. Photo 2: Here is the completed starter switch with the terminals installed.Photo 3: This is the back side of the panel with the starter switch & RPM gage wiring all in one bundle routed around the back side of the panel. The two gages with wiring connected to them on the right rear side of the panel are the EGT & CHT gages; their wiring will be bundled to the Cannon plug that will terminate the panels connections. Also shown in the lower right side are the switches for the fuel pumps, the master circuit breaker that will be wired to the starter solenoid, and the breakers for the fuel pumps. The Hobb's meter is also part of the small panel. I still need to wire the fuel gage which is just below and to the right of the starter switch into the bundle as well. I'll post this info later on this log.