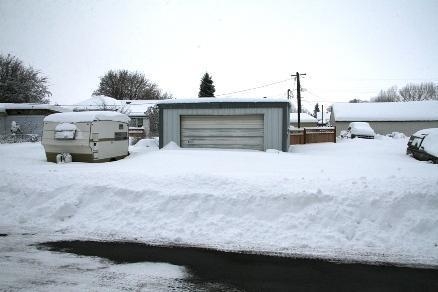
This page is about the inventory of the kit ... step one shown in photo one was to clear out the snow blocking the drive the day before the kit arrived ... thank God for tractors and friends who showed up to help. It took about three hours to clear the drive, and get all the snow out of the front of the door so we could get inside.
Next, a detailed six page inventory sheet included with the kit from the factory was used to confirm everything was in order. A few items marked as missing were noted but everything else was there.
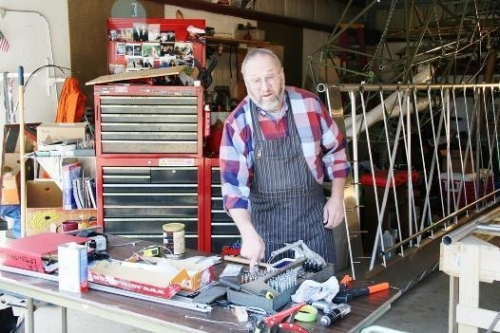
Photo two shows me moving things out of the way to spread out the items in the kit to do the inventory. I have a J-3 Cub rebuild going on too so we spent a hour or so moving the fuselage for the Cub to the back of the shop, and cleaning up the reminder of the shop to get as much room as possible to work on the Excalibur.
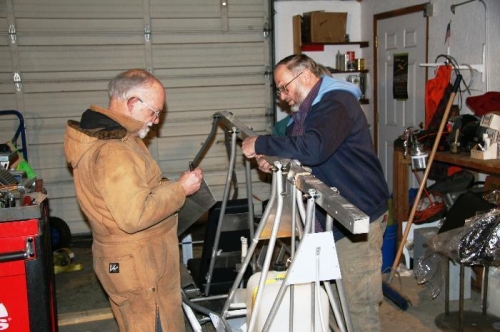
In photo three myself & Davis are cleaning up the residue of the strapping tape left on the frame. This chore takes about two hours to do it right ... I found that Nikki had autographed the root tube on the right side just above the pilots seat ... so I am going to cover it with a clear tape to protect it and make it part of the build. Thanks Nikki ... see you at the BBQ and first annual Excalibur fly in at the factory next year.
For now it's really a job of getting the builders manual read, then organizing the tasks in a logical manner. Due to some modifications being made on this airframe I am going to have to think out clearly my work schedule to make certain all tasks are done in the right order, and properly documented for future reference.
The engine is the Hirth 3202 [55 HP] and it arrived about two months ago but I have not yet uncrated it as I want to be able to mount it in the airframe so I can do the static break in run first. Once I have completed the break in, and can confirm the proper static thrust out of the prop, I will need to send the prop back to Tennessee Props to have the leading edge protection applied. I am using a 60" X 46