Brief Description: Calibrating Irons with Digital Thermometer
I calibrated the irons using the murcury thermometer as I have always done. I then cleaned off the silicon paste and shut the irons down to let them cool off for about an hour. I then plugged them back in, and set them to the temprature markings I had put on them, and checked temprature calibrations using a laser beam digital thermometer I bought at Harbor Freight for $29.00 plus tax.
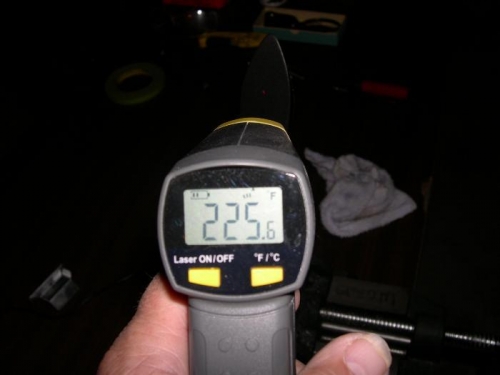
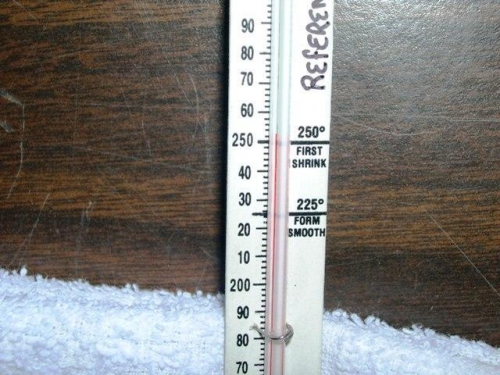
The first setting on all the irons was within one degree as seen in the first photo. Photo two shows the murcury thermometer used for the initial calibration at the second temprature setting of 250 degrees.
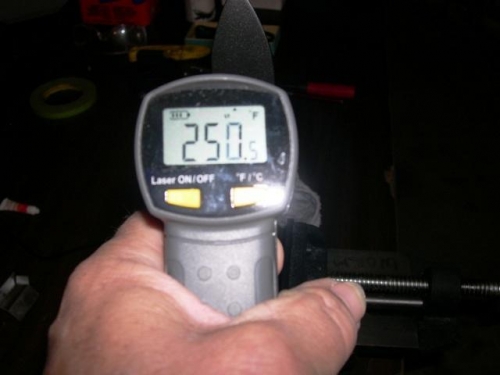
Photo three shows the digital reading during the calibration check after cooling off the irons from the first calibration.
Not bad I'd say, and very quick. The digital thermometer showed that there was at least a 5 to 10 degree difference from the tip of the iron surface [the pointy side] and the middle of the surface plate. The butt end was the coolest at a difference of about 50 ~ 80 degrees. I found that the most stable area of the heat face surface was at the "shoulder" of the iron . If you draw an imaginary line down the center of the heat face surface, and one perpendicular to the widest point towards the tip of the shoulder as I call it, this shoulder is the where the two lines intersect.
The final temps at 350 degrees F were as accurate.