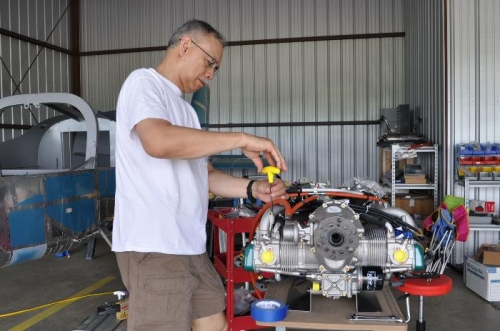
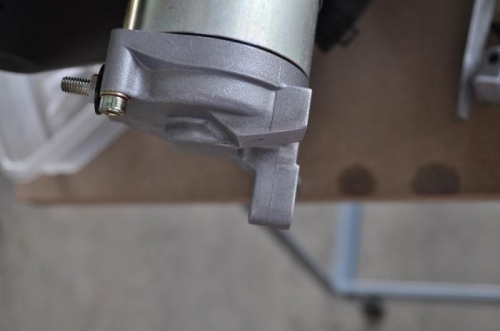
Got a Hex bit and 1/4 to 3/8 adapter from Harbor Freight Tools and used them to torque the Allen screw at the inboard crank trigger coil to 55 in-lb, and applied torque seal. Removed the ignition module and disconnected the intake manifolds. Also disconnected the coolant hoses and Expansion Tank Assembly. This is to expose the top of the engine to install the cooling shroud. Marked the positions of the Fwd Ignition Module Bracket and loosened and then rotated it to allow positioning of the shroud. Cut off the upper grounding lug from the starter per the plans.
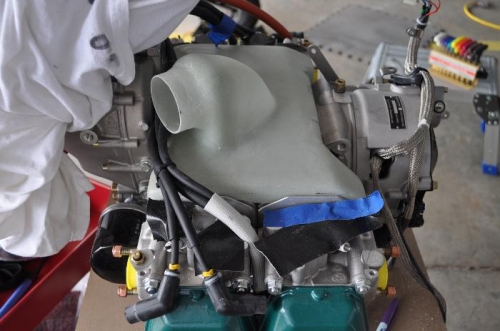
Placed 4 marks on the FF-1207 Cooling Shroud. The instructions on trimming it are sparse and could have been better. Van's could have put scribe lines on the shroud or provided a template. Anyway, it was time-consuming - placing marks on the shroud, removing it, cutting and sanding, placing it back, putting more marks, more trimming and sanding - and the steps repeated several times. I may have overtrimmed the sides of the shroud some. There are a lot of complex curves around the engine and it is hard to maintain a maximum of 3/16 inch gap in all places.