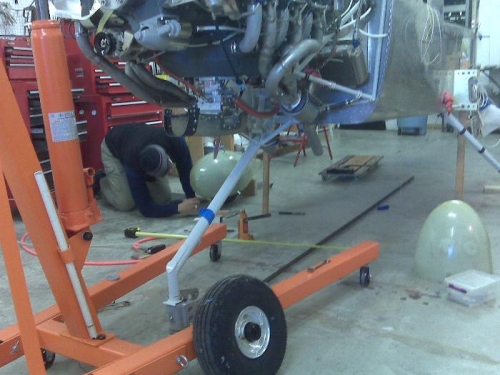
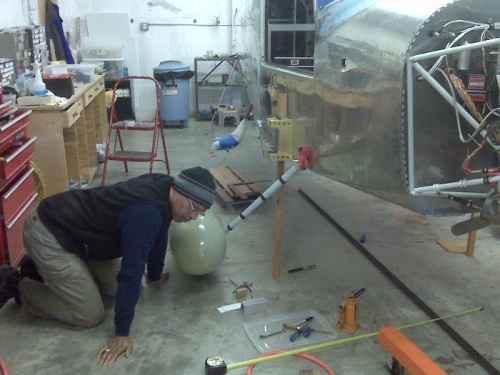
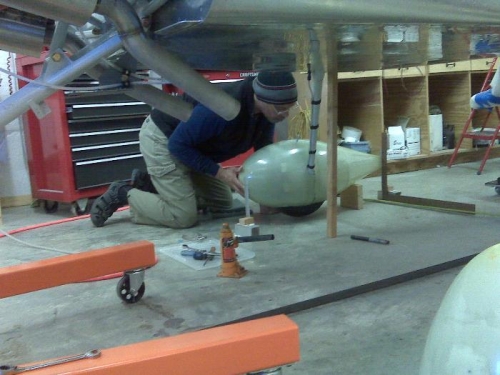
Brief Description: Installing wheel pants - right hand pant
In these pics you can see the alignment setup.
Used a single axis laser you can see on foot stool in pic 2. It shines a center line on the floor, up the nose wheel and along the bottom of the fuse. Works GREAT! I could split the centerline rivets on the fuse, split the nose gear strut and laid an iron angle iron along the line projected on floor.
You can see the angle iron in all 3 pics along with a tape measure used to measure out the distance to the nacelles. The weight of the angle iron made it a very convenient centerline to hook the tape on.
The plane is jacked up on (2) oak 2X2s under the spar stubs and the engine hoist on the front. Thanks to whoever suggested a similar setup on Matronics.
The laser and the angle iron gave me a high level of confidence that the nacelles are well aligned. Seemed like a tricky job in the beginning but it all works per the plans.
Wish I had a clean, painted floor. This was a dirty job. BTW, I normally used knee pads.
Doing the alignment
Pondering next step - fuse jacked on oak 2X2
fore and aft alignment with block and aluminum angle with screw in ti