Today I tackled the much anticipated longeron bending. This turned out to be a fairly simple task. While more than one way exists to complete this task, I found the method called out in my assembly manual to work well enough.
I began by clamping the two longerons together to form a "T" and measuring out the critical stations for measuring. The forward 29.75" of the longeron deflect slightly down toward the firewall. One longeron is bent first by pulling straight out until a 2.25" gap is obtained. Then the opposite longeron is bent out until a 4.5" gap is obtained. This simple method achieved the downward bend.
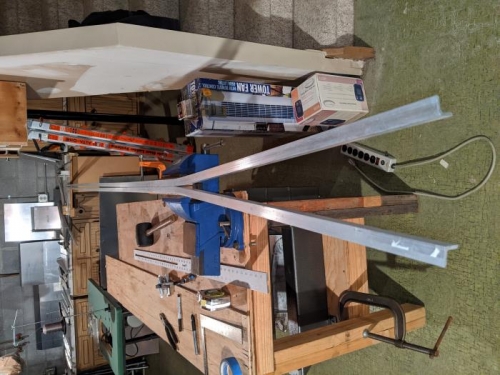
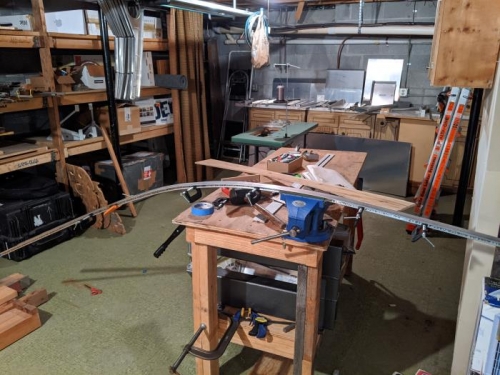
I then trimmed the contour from Drawing 22 and traced it onto plywood. I cut this out on the bandsaw to provide a female mold for the longeron. At this point it is a fairly simple matter of clamping the two longeron angles together to limit twist. Then, the longeons are clamped in a vice and a small amount of pre-load is added by bending the longeron. It is then struck with a dead blow hammer to set the deflection.
This is done incrementally down the length to be countoured. It was easier that I thought and I ended up over-bending the longeron. This was easy enough to reverse by slightly straightening the longeron. After some tweaking I was finally able to acceptably match my longerons with the contour from the female template.