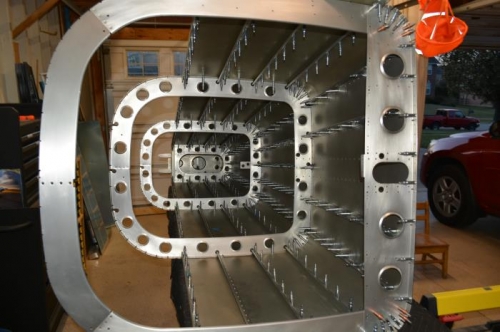
Brief Description: Started riveting tailcone (10-20)
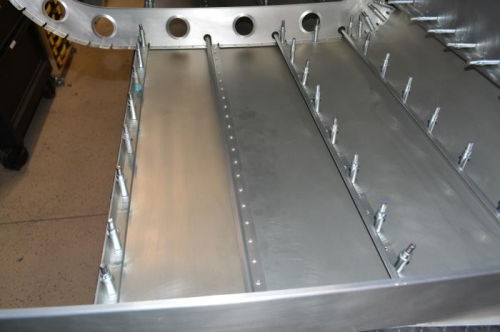
After doing a little research and trying a few different approaches, I ended up moving the clecos to the inside with the plan to back rivet as much as possible. I left the HF moving blankets on the table and just positioned the back rivet plate under the section I planned to rivet. You can get a bout 13 rivets in a row with the Cleveland back plate. This worked really well and gave and nice smooth surface. The technique was to remove all the clecos for a give row between bulkheads, then install the rivets and tape them in place. I have the sawhorses set to the same height as the table so I can roll the tail cone back and forth. So once the rivets are taped in, then I roll the cone over the back plate, making sure its centered and not contacting any other clecos. Next, I test push the skin near the rivets to make sure there’s no gap to the back plate…if needed I add some thin boards around the tail cone to make sure the are I’m riveting is tight up against the back plate. For a few locations I used a thin shim between the skin and the pack plate that I could pull on (as a feeler gage) to check that the skin was touching. The long receipts from Thanksgiving grocery bill worked great as a feeler gage. There are still several locations that will need to be bucked, but I was able to take care of a lot of them.
Clecos moved to the inside, in prep for back riveting (22-356)