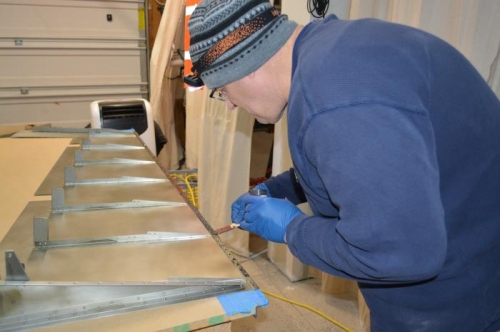
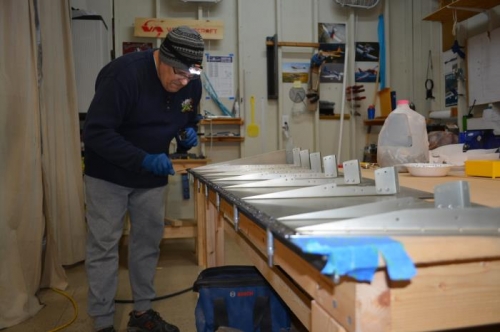
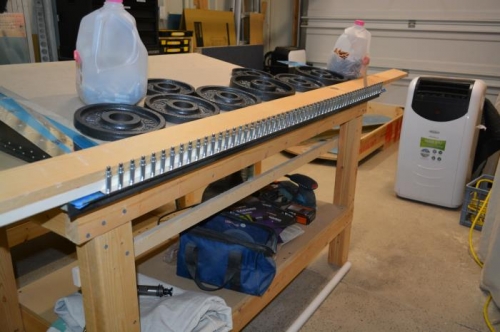
After a trial run and reviewing all the steps with Cyndi, it was time to get dirty and sticky…very sticky. I attached the trail edge underneath to the steel angle iron and then mixed up the small portion of pro-seal. This stuff was way thicker and stickier than I remember from the RV-12 and it was really hard to spread. I tried to keep it thin, but I fear that I put it on too thick. Once the right half wedge was coated, I secured it with the clecos from under neath and proceeded to coat the left side of the wedge. With Cyndi’s help in holding the left skin back I preceded to work my way up and adding blind rivets to the rib intersections and shear clips. Everything went pretty smooth and it wasn’t nearly as messy as I feared. The still wet pro-seal that squeezed out cleaned up easily with just acetone. With every rivet installed on the top side of the trailing edge I added some boards and weights to help push aft on the clecos…hoping that it will keep the trail edge tight. Now I just need to wait a few days to completely cure.
Spreading pro-seal on trail edge wedge (21-024)
Pro-seal on tail edge, still need one more pass to thin it out (21-026)
Boards and weights to push against clecos while it cures (21-030)