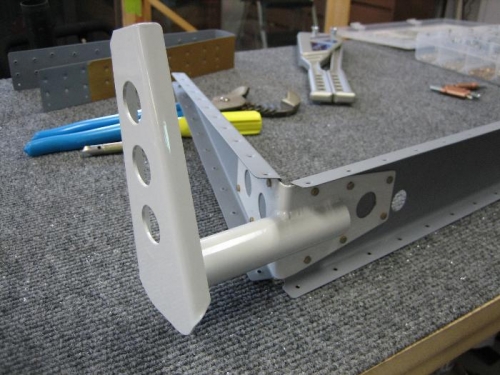
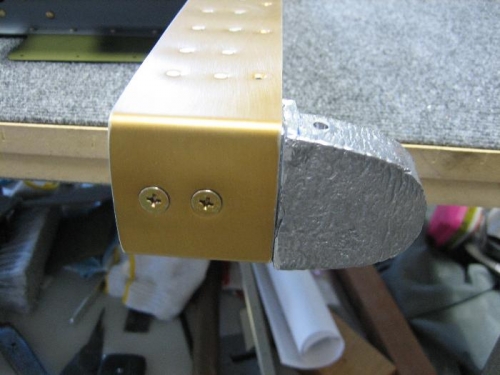
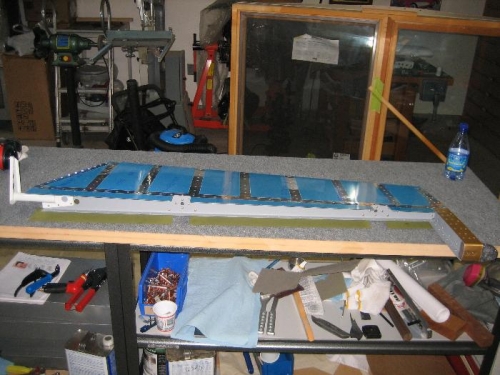
Time to rivet the right elevator assembly. Using AN470 rivets as specified, I used my pneumatic squeezer to set the rivets attaching the end rib E-703 to the counterbalance rib E-704. I riveted the two spar reinforcement plates E-610PP and E-611PP to the E-702 elevator spar. Then I riveted the two K1000-6 nut plates to the reinforceplates and spar. With 4 NAS 1097 small head rivets I attached the E-709 root rib to the spar. I next riveted the end rib assembly th the end of the elevator spar. Next I riveted the WD-605-R-1 elevator horn to the understructure with AN470 rivets as specified. I riveted the E-713 counterbalance skin to the elevator skin in place places according to the instructions in order to avoid using blind rivets later. I placed the counterweight loosely in position and inserted the two machine screws partially to hold it in place. I then inserted the understructure between the upper and lower elevator skins and clecoed in place. I was able to use my pneumatic squeezer for all the AN426 rivets except where the root and end ribs taper at the trailing end. The last two rivets required using a 1/4" thick plate placed on top of the rivet shank with a grommet to hold the skin tight against the rib and the rivet head sitting on my backrivet plate. Using a mushroom set sitting on the plate next to the rib, I was able to set the rivet partially, remove the grommet and then finish setting the rivet. Worked well. Last step was to finish inserting to machine screws for the counterweights and one AN960-10 washer and one AN365-1032 nut and torquing to 20-25 in-lbs. Right elevaror done except for forming the leading edge and fitting the fiberglass tips.