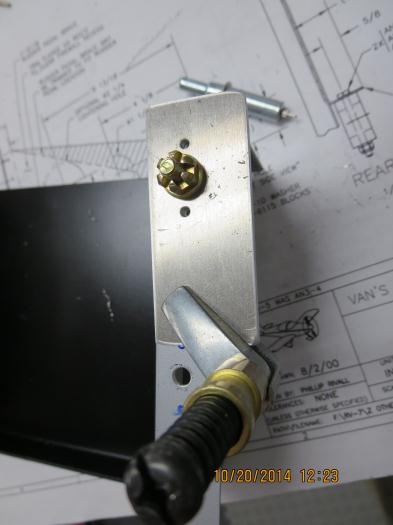
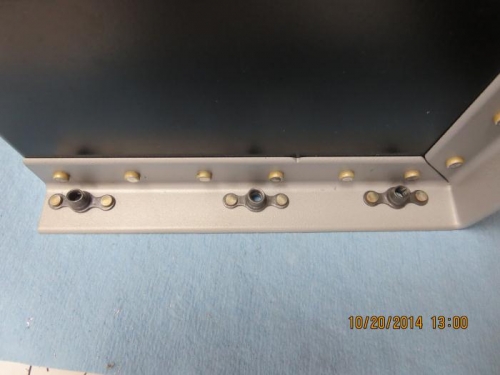
With the battery box finished, it was time to mount the box to the firewall. DWG 31A specifies the location on the firewall and the box is secured with six AN3 bolts through 6 K1000-3 nut plates. I had already marked the battery box location on the firewall and marked the 4 rivets that needed to be removed. I drilled into each rivet head with a #40 drill bit about an 1/8" and used another drill bit turned backwards to snap the rivet head off. I then used my wire cutters to grab the other end of the rivet and pry it off. I placed the box into position and drilled from the cabin side through the holes and through the side angle. I placed a cleco after each hole drilled. I marked the 2 additional holes in the right side angle and drilled those holes. I enlarged all the holes to #12 using several drill sizes. I removed the battery box and deburred the six holes. I made a platenut template from 1/8" thick aluminum plate about 1" x 2". I used a K1000-3 platenut to match drill the holes in the template. Then I used a screw and clamp to secure the template to all six holes in both side angles and drilled the rivet holes to #40. Next, I machine countersunk the rivet holes and proceeded to rivet the platenuts to the battery box. I will leave the battery box off for now until I have an idea where to place both master and starter contactors.