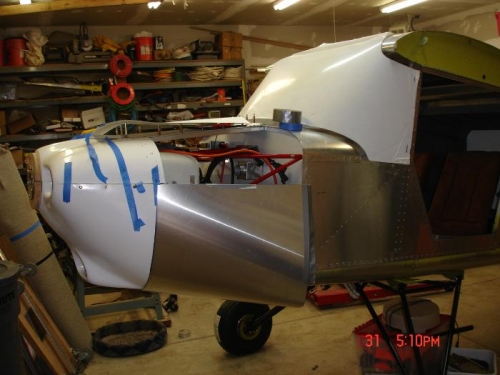
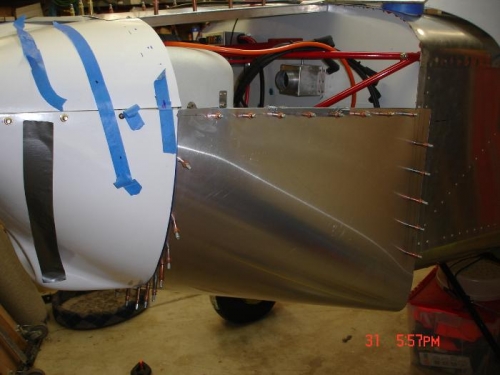
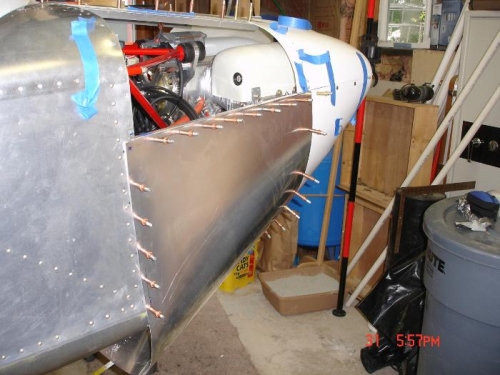
First I laid out the bolt holes for the wing struts and drilled out the other two bolts holes for each wing strut on both ends and installed and torqued the AN4-14A bolts. The plans I have showed AN4 bolts and there was none in the kit. I have sense found out that they have an updated set of plans that use AN3-14A bolts instead and they were in the kit. Placed pattern on .025 sheet of aluminum and checked both side of pattern. I did not like the way one side was a little different so I cut the pattern in half and tested the left side of the pattern on the right side of the plane and I liked the fit very well. Tested the right side of the pattern on the left side of the plane and did not like it as well as the left side of the pattern so I laid out the left side first on the 025 aluminum then flipped it over and used it to make the right side. Boy this is were you start sweating a bit as you know you only have this one shot at it or you will be ordering a new sheet of .025 and start over. WOW I could not be any happier with the fit. I have 95mm opening in the bottom between the cabin and the lower cowling. I put a few more screw holes in the front then I really needed but I plan on leaving that attached when I remove the lower cowling for service. With the Jabiru engine I am at the 22' 5" long on length of the plane. I will draw up the pattern of the lower cowl. Laid out the upper cowling and cut both of them out.