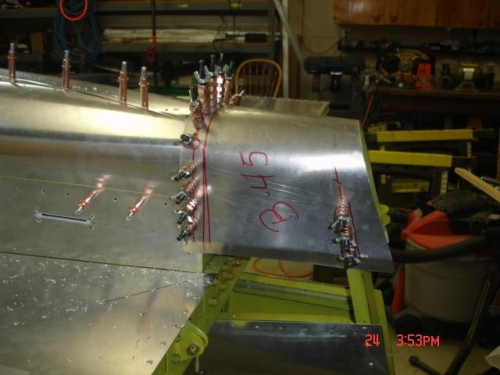
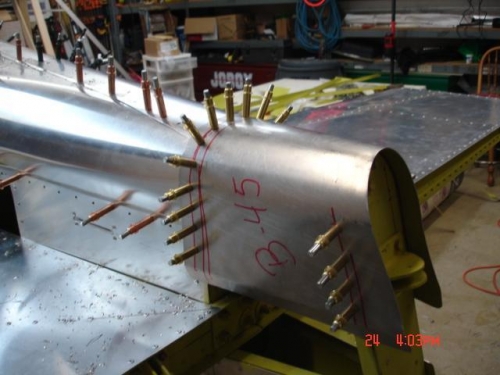
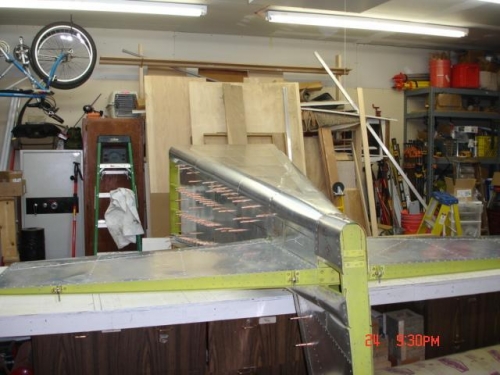
Started were I left off yesterday and finished the left corners and moved on to B-45 and placed on fuselage and checked aliment on both side so it was equal in height and marked back for a 12 mm over hang. Laid out rivet line at 25mm per drawing. Drilled top hole with #30 drill bit and used a 1/8th wing nut cleco ( did not get around to buying the 3/16 wing nut clecos yet) Continued around the out side leading edge making sure the clecos pulled it all together tight. Man you have to love those wing nut clecos. Did notice that when you use the wing nut in close spacing it would be better to have the hex nut clecos. Then used the wing nut clecos on the after end. After all was tight and in place I removed the top cleco and drill to proper rivet size and clecoed with standard clecos. This worked great because the held what I already had with the wing nut clecos. Removed all the clecos and started the fund side of riveting, deburring. This is the hardest part but needs done for a proper fit. Do not give up you will get it done even if you have to take a brake now and then. Put the bottom skin back in place and clecoed and then the corners and B-45. All aligned back to the proper place. Started riveting B-45 first and then the 512 in the corners and finished with the 1/8 rivets on the rest. Drilled inspection cover for two screws and riveted the two captive nuts using 3/32 rivets. That is what the captive nuts are drilled for. The kit does not include this size of rivet so you will have to order some. They are in the wicks catalog and the description says they are for captive nuts.