Brief Description: Part 1: Technique for matching bulkhead holes
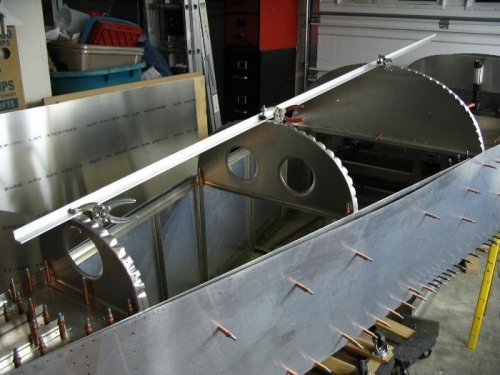
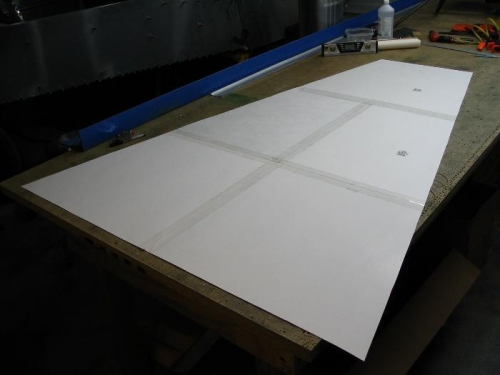
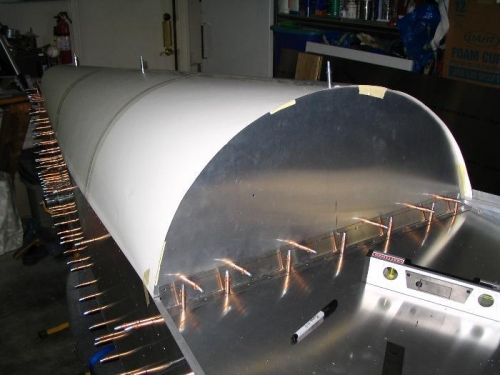
After my problem with alignment of the top skin, I took this approach. First I trued up all angles on the three bulkheads. There was some unnecessary variation in them, so that was a good first step. Next I clamped a piece of extrusion across the tops to establish empirically what distance was needed between each bulkhead to maintain 84 degrees for each. For the record, mine were 865mm and 630mm (front to back). Your results may vary (in fact, I'd say count on it). Next I pulled out some poster paper that was reasonably thin but still fairly rigid. I taped together five pieces and cut it in the general shape of the part. I established a center line and put my three holes at the specified distances apart. NOTE: Despite what the plans show, there is no way on earth that you will get a 20mm overhang on bottom edge of the baggage rear bulkhead if you make the top center flush. To get my sides to extend ahead of the front face of the bulkhead, I moved my first rivet hole back 25mm from the edge. Back to my process -- I then measured the angle on the baggage rear bulkhead, and once I had it a 84 degrees, I taped the poster paper to the side skins and along the intersection of the top skin and the bulkhead. This held things remarkably rigid for the next step. End of Part 1.