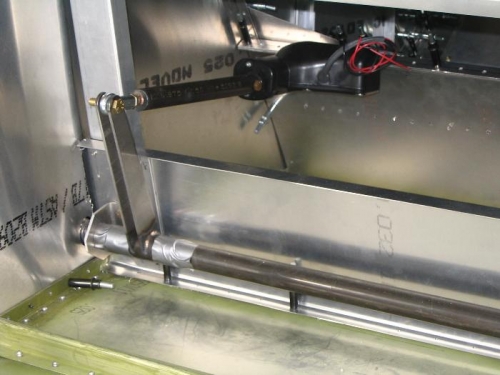
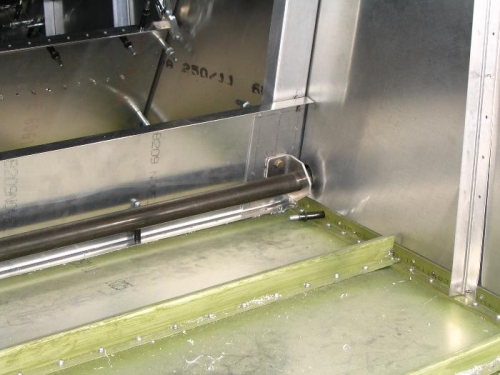
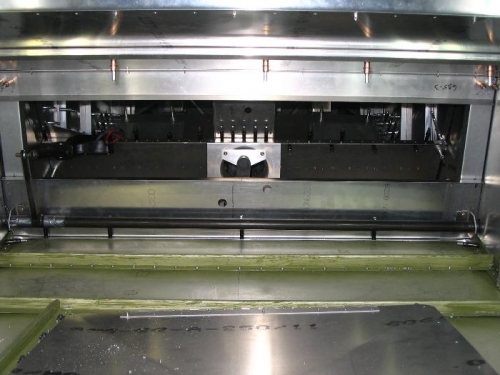
I don't exactly know why, but installing the flaps is something I've been apprehensive about. As in so many parts of the fuselage, there are plenty of moving parts to keep in line. By cross referencing my measurement on several dimensions, I was able to become satisfied that it just might work. Remarkably, it did. Everything went together beautifully. NOTE: When you are at this stage, DO NOT drill the left flap control tube (6-B-19-2) and the right flap control tube (6-B-19-1) to the flap control arm (6-B-19-3). You need to wait until the wings are installed on the fuselage before setting the final angles on the outside flap tubes. That will allow you to line it up perfectly with the slots in the inboard flap rib. In the meantime, I've just wrapped those two joints with duct tape to hold things in the basic orientation. By the way, I couldn't resist, so I whipped out my battery and ran the flaps out and back several times. It almost sounded like ariplane noises!
No, I'm not holding my plane together with duct tape