Brief Description: 1 - Removed canopy and riveted top skin
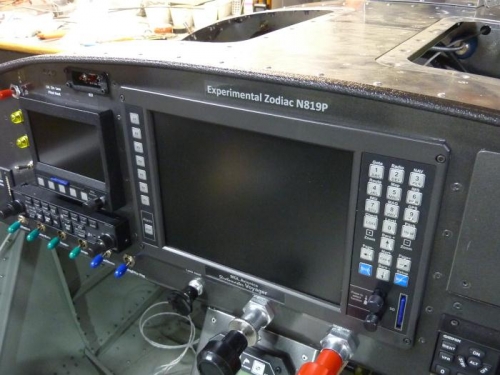
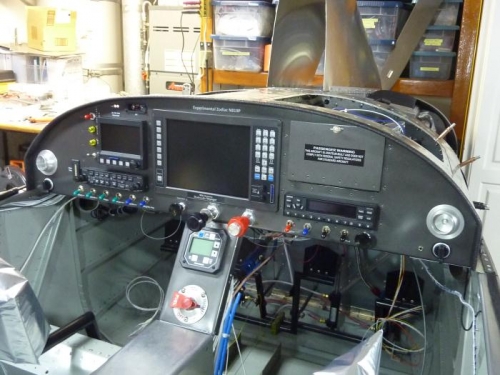
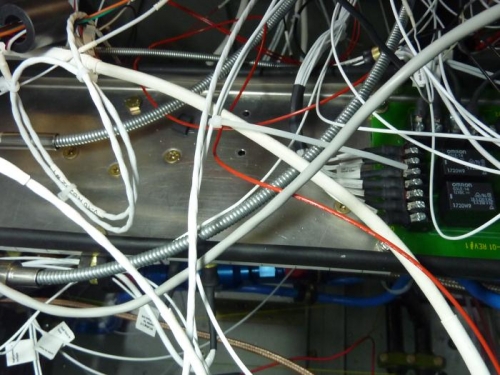
For some time, I thought I might remove the top skin over my instrument panel to paint it or something else. I now realize that is not going to happen and it is time to rivet completely the panel and top firewall to the top skin. Because about 5 holes on each side were covered by the canopy frame, I elected to remove the canopy to complete the riveting. Now that it is off, I believe I'll leave it off until I have completed all wire routing and the installation of my cabin heat cable. This will provide easier access all around. I also picked up two kinds of rubber edge trim today. The softer and thicker stuff I used on the to flanges of my center support panel to prevent abrasion of the wires that cross over it. The thinner and more decorative trim that has a thin metal "U" built into itself I used to trim the top skin over my instrument panel. This is very important to avoid injury from the sharp edge that is pointing in the direction of pilot and passenger in the event of a sudden stop. It looks great. I'll glue it in place once I have painted the top skin. BTW, the canopy is now comfortably resting in our living room.
Riveted top skin with trim around panel
No canopy to allow riveting
Rubber trim on edges of center support to prevent chafing