Brief Description: Painting of Vertical Stab and Prep on Ailerons
Using the small iron went over the rudder and ironed down any edges that were raised. Completed the sanding of both sides of the rudder. Set it aside for the next round of painting.
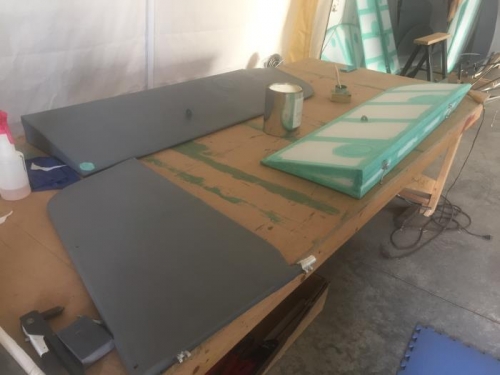
Put the vertical stab on the table and washed both sides. Trimmed several areas where the fabric extended too much. Ironed the edges down where needed. Dampened and painted primer on both sides of the stabilizer. Painted a second coat of primer on the stabilizer and set it aside to dry to be sanded the next work day.
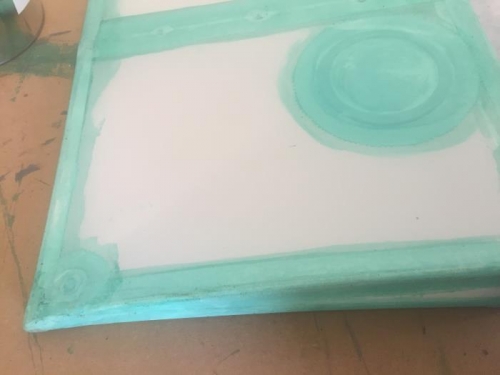
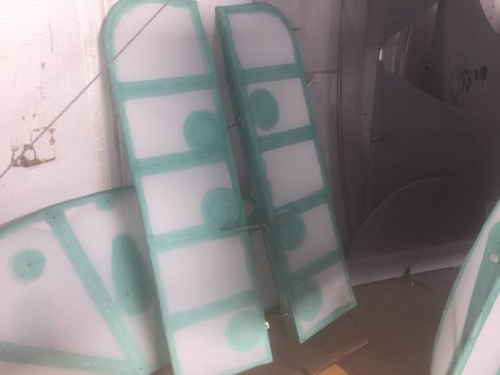
Placed the upper left aileron on the table with the bottom up and marked the position of the three access ports. Glued the plastic rings in place and then cover them with fabric and wiped the excess glue from each with a shop towel. Used the small iron to go over the aileron edges and iron down any areas which were not smooth. Washed both sides of the aileron and rinsed with clear water. Applied a coat of primer on the dampened material on both sides, the end, and back of the aileron. Applied a second coat of primer to the aileron. Realized that I forgot to install a drain grommet so added it to the lower right trailing edge area.
Installed two access ports rings to the upper right aileron along with a drain grommet. Installed three access port rings to each of the lower ailerons. The drain grommets will be added during the next work day. Sanding of the vertical stab and painted aileron will be done during the next work day.