Brief Description: Completed AOA Install and Calibration
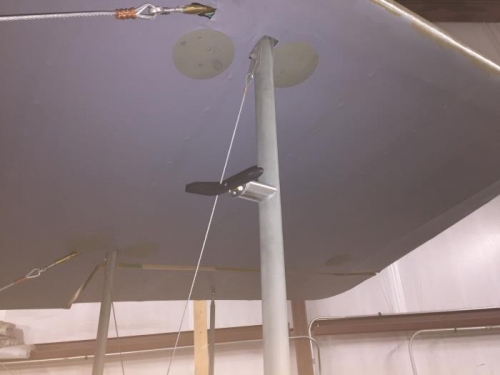
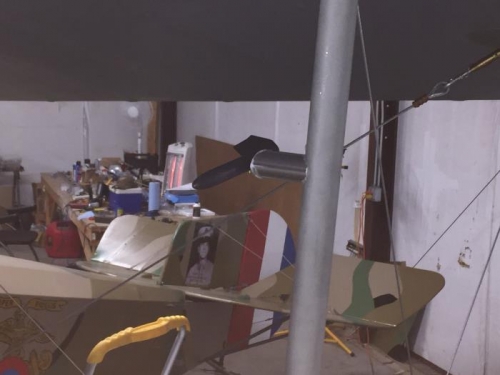
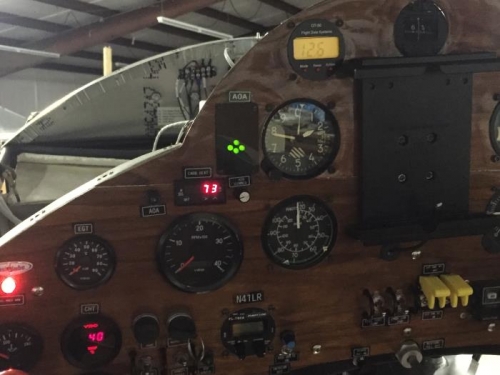
Received the new pot for the AOA vane. Put test leads on the three contacts and connected two of them to a VOM. Checked the ohms and turned the pot control until a value showed up on the display. Found that the range of values showed up on only about a 1/5 arc of the pot. Installed the new pot into the mounting plate and tighten the center nut. Put the vane on the pot and using the VOM positioned the vane in about the center of the display values. Used test leads and connected the pot to the wires on the strut. Powered up the AOA display and observed the display. Adjusted the vane and again observed the display for a valid indication. Used a screwdriver with a common bit to move the shaft of the pot inside of the vane to set the vane more in the center of the value range. Moved the vane to a position where the display showed an on speed display. This appeared to be a reasonable place to start the airborne calibration.