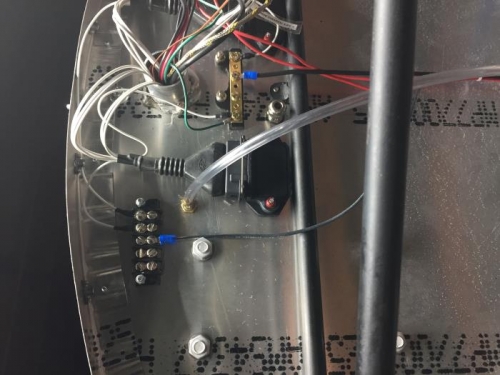
Secured the 5 lead terminal block to the left side of the firewall using two 8-32 bolts. Put a crimp terminal on one end of a 16 gage black wire and connected it to the open terminal on the battery solenoid. Changed out the 1024 screw in the center of the firewall for a 1024 by 5/8 screw. Added a 5/8 clamp around the wires and secured the clamp with a 1024 locking nut. Routed the solenoid black wire up through the clamp to the secondary terminal block. Installed four wire ties about every six inches up the length of the wire bundle. Measured the black solenoid wire at the secondary terminal and cut to length. Installed a crimp terminal and secured the wire to the center post of the terminal.
Measured the right tachometer single lead to the right post on the secondary terminal block and cut to length. Added a 3/8 inch length of heat-shrink tubing and crimped a terminal to the lead. Moved the heat-shrink tubing in place over the crimp and applied heat to fix in place. Secured the lead to the right post on the terminal block. Repeated the process for the left tachometer lead and secured it to the post to the left of the right connection.
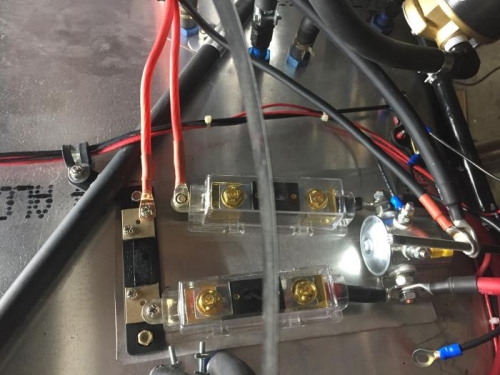
Located a 22 gage wire pair for the amp shunt connection. Split the cable about two inches from the end and added a 3/4 inch segment of heat-shrink tubing. On each individual lead added a 3/8 segment of heat-shrink tubing. Removed the insulation from 1/4 inch of the lead and soldered a terminal to the lead. Repeated for the second lead. Finish and install tomorrow.