Brief Description: Completed Routing of Oil Scavenge Lines
Removed the scavenge oil filter bracket from the engine mount and set it aside.
Checked the measurement of the top oil line for the suction side of the scavenge pump. Wrapped the line with duck tape at the marked location and then transferred the mark to the duct tape. Used a hammer and cold chisel to cut hose at the mark. Installed a straight AN6 fitting on the hose. Secured the hose to the suction side of the scavenge pump and then to the top of the filter on the sump.
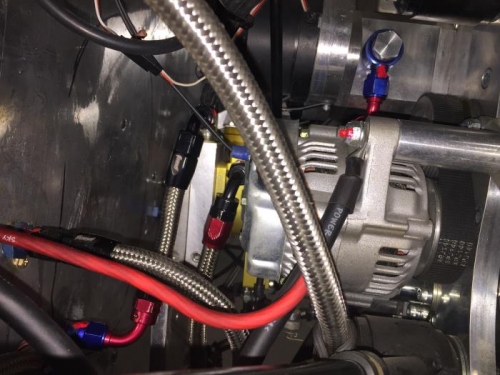
Measured the length required for the pressure side of the scavenge pump to connect to the input to the carb heat exchanger. Cut the hose to length and installed a 90 deg AN6 fitting to complete the hose. Connected the hose to the heat exchanger and attempted to connect it to the scavenge pump. Found that the correct angle for the fitting could not be achieved to connect. Removed the straight end from the heat exchanger and then connected the 90 to the pressure side of the scavenge pump. Then connected the straight end to the heat exchanger.
Marked the length on the hose from the output of the heat exchanger to the return line to the oil tank. Removed the hose. Adjusted the length for the fitting and cut the hose to length. Installed a 90 deg AN6 fitting to complete the hose. Connected the hose to the output of the carb heat exchanger and to the return oil line to the oil tank.
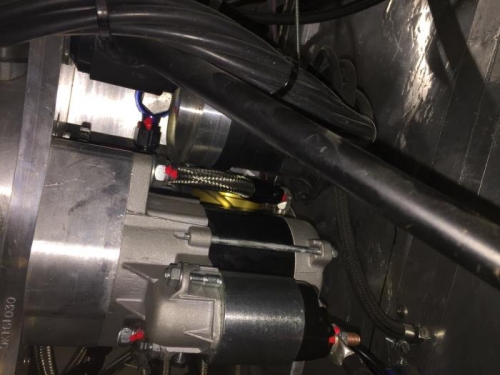
Installed the starter back onto the engine. Connected the solenoid power and switch wires. Checked each of the oil line fitting tight and then marked them with red torque paint. Also marked each of the mounting nuts for the starter and solenoid power.