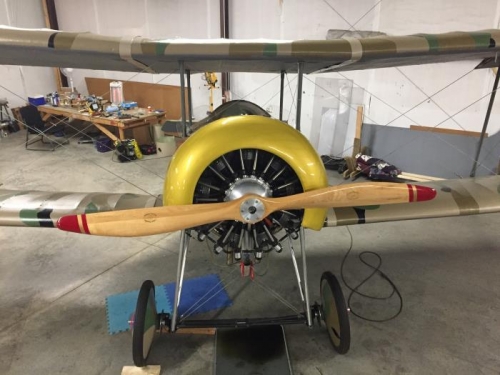
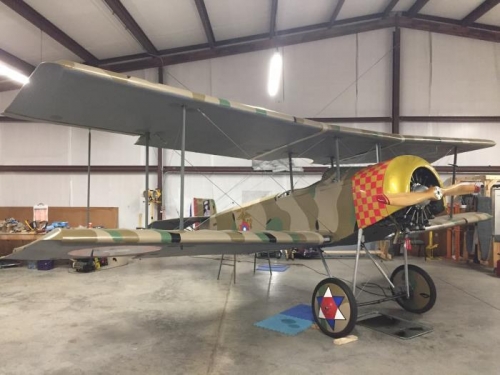
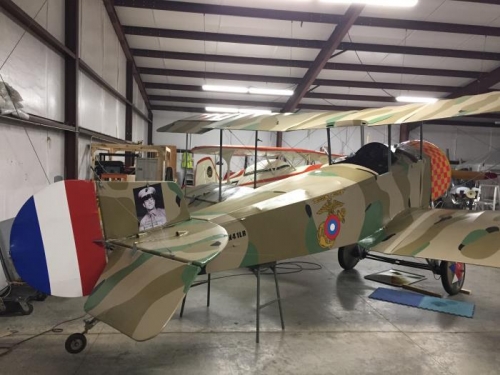
Brief Description: Mounted the Cowling - Finished Aircraft!!
Slid the right front side panel in place and checked the alignment of the mounting holes. Trimmed the top left edge and bent the remaining material to match the top edge. Installed the 1024 screw in the top left corner and one in the bottom right corner. Installed the left front panel and found that the bottom right edge was too long to allow the holes to align. Trimmed about a 1/4 inch strip from the right edge and tried the fit again. Trimmed an additional 1/16 inch and tried the fit again. The alignment worked and installed a 1024 screw in the top right corner.
Removed the two 1032 screws from the top of the firewall next to the alignment stub. Mounted the cowling over the engine and onto the alignment stub. Installed a 1032 screw on each side of the alignment stub. Removed the 1024 screw from bottom front corner of the right side panel and installed it again with the cowling in place at the corner. Repeated the process for the left side. Aligned the top hole on the right side of the fuselage and the cowling and installed a 1024 by 1/2 inch 1024 pan head screw. The continued alignment of the screw holes will be completed during the next work day.
This completes the construction of this airplane as all metal components are now in place. Continued testing and minor adjustments may be needed.