Brief Description: Center Wing Cutout and Leading Edge Installation
Lined up the leading edge sheet along the bottom of the wing over the main spar. Drilled a 1/8 inch hole through the sheet and the bottom wing rib on the left end. Secured the sheet to the wing rib with a cleo. Lined up the right end drilled and cleoed it in place. Double checked the alignment and then drilled and installed 1/8 inch pop rivets at each wing rib across the bottom of the leading edge. Installed a ratchet strap along the first wing rib inside the outer edge on each end of the wing center section. Curled the leading edge sheet over the wing ribs and held it in place with the straps. Drilled and installed two 1/8 inch pop rivets at each wing rib across the wing section.
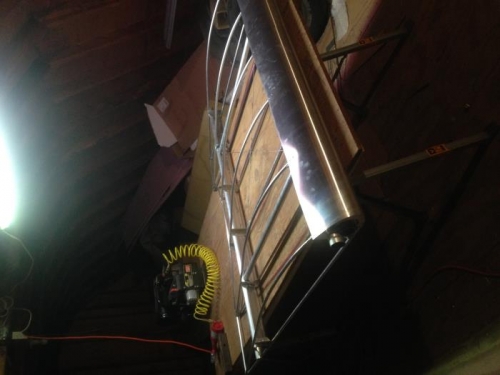
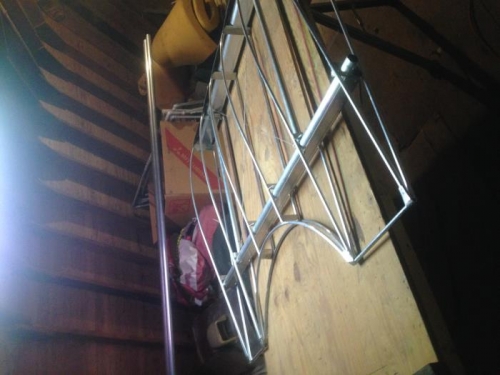
Ran a section of 1/2 inch aluminum tubing through the bender until its curvature matched the radius required. Repeated the process for a second section of tubing. Laid out one segment of the curved tube and marked the two center wing ribs where the curvature intersected the wing ribs. Removed the excess ribs and fitted the curves in place. Installed two angle brackets between the top and bottom wing ribs and attached the curved tubing to the brackets with 1/8 inch pop rivets. Added trailing edge tubes on both sides of the cutout with gussets at each wing rib.