Brief Description: Start Prep of Center Wing Section
Finished the adjustment of the right wing end rib to match the center wing section rib. Trimmed the angles and filed them smooth on the rib. Removed the right wing and placed in back in the wing rack.
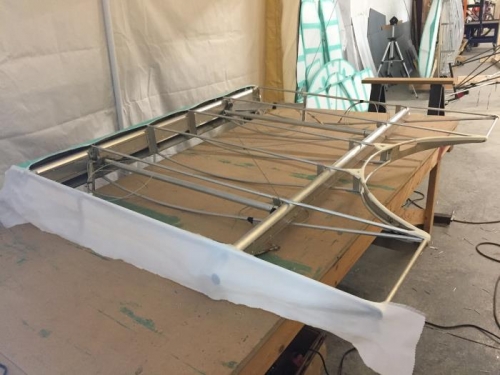
Marked each internal rib on the top of the center wing section every 3 inches for drilling for rivet stitching. Drilled all of the marked locations with a 1/8 inch drill. Deburred each hole. Wiped the top of the wing section with acetone to remove all marking. Turned the wing section over, marked and drilled the rivet stitch holes. Wiped down the bottom with acetone to remove all marking.
Turned the wing section back to the top. Sprayed the leading edge with contact cement and applied a section of light felt aligned along the top edge. Smooth the felt down over the front of the leading edge. Turned the wing section over so the bottom was up. Applied contact cement along the bottom edge and pulled the felt in place covering all of the leading edge. Applied a coat of glue to the leading edge covering all of the felt.
Applied cotton tape to all edges and rivets on the bottom wing section. Applied a light coat of glue to the inside of the right most wing rib on the center section. Attached a segment of fabric to the bottom rung of the right end rib. Additional fabric attachment will occur in the next work day.