Brief Description: complete the right and left ailerons
I disassembled the right and left ailerons to deburr, dimple and prime prior to final assembly
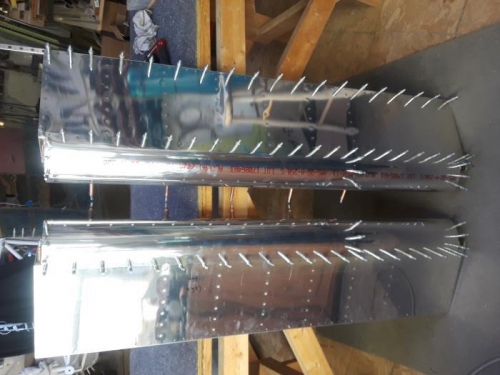
Final assembly went reasonably well with the exception of a few small dings. The skins are so thin that any slip on the rivet gun leaves a mark. I found it best to turn the pressure on the gun WAY DOWN to just above what was required to upset the rivets. This seemed to leave the fewest marks in the skin.
For the trailing edges, I added a thin smear of proseal, clecoed every hole, and let cure for a day or two weighted against a section of angle iron to maintain a straight trailing edge. Riveting after the sealant partially cured went well.
After some experimentation, here is the method I used to set the double flush trailing rivets and get an arrow straight trailing edge. I alternated sides with the factory head of the rivets. I squeezed each partially with the hand squeezer set to just bring the shop head flush with the skin. Then placing the trailing edge against the section of angle iron I reset each rivet with a flush set (the rigid set with rubber ring, not the swivel set) and the gun set to a low pressure. Just enough to upset the rivet. The trailing edge came out straight and true.