
|

|
|
|
Leos Web Site
|
Date: 3-24-2018
|
Number of Hours: 14.00
|
Manual Reference:
|
Brief Description: Left Fuel tank deburr and assembly
|
|
I finished the pre-assembly of the right fuel tank and so started the dis-assembly and deburr of the left tank. That took about 3 hours to complete.
t set the tanks aside for a short time to assemble and install the stall warning switch. I really debated about adding this feature as I have the Garmin AOA installed. I asked myself if I really needed both. Since now is the easiest time to install the indicator, I decided to do it.
I almost put off the tank assembly and moved to the ailerons, but decided to get it over with.
Working with Pro-seal has turned out to be slower and messy, but really not so bad. First the stiffeners go on, which is rather easy on the flat sheet. I buttered the back of the stiffener with pro-seal and placed them on the skin pressing until an ooze of sealant came out of the rivet holes in the skin. Using a pick to align the pieces, a few clecos (I always use the same few and clean with a paper towel after each use) and then back rivet. Clean the show side with acetone and paper towels, then go back with a cut down tongue depressor (cut in width to about 1/8" wide) and fillet the edges and cover the shop heads of the rivets with sealant. That way every rivet is bedded in sealant (the squeeze out) and sealed on the shop side. It took about 7-8 grams of sealant per stiffener.
I found a routine on the ribs after a few were installed. Similar to the stiffeners. Butter the edges just thick enough to cover the dimples, insert and cleco. I had to pull the part from the cradle and stand on end to get to the first 3 nose rivets then back into the cradle to finish the rivet line. All done with my swivel head flush set and tungsten bar. With the Pro-seal ooze out, I inserted all of the rivets at once (excepting clecoed holes) and pressed them in with an awl point. The sealant held them in place as I set them up the line. Clecos out and wiped off, place and set the balance of the rivets. Clean the outside with acetone and paper towels, tool the inside with the stick making sure the edges a
|
|
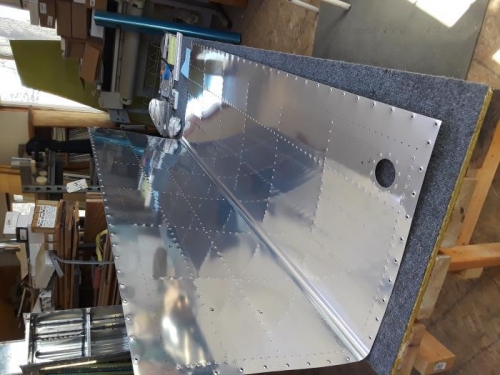
dimpling the tank skin
|
|
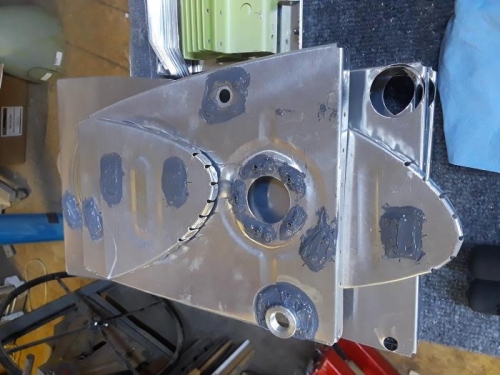
pre-assembly of the ribs with sealant
|
|
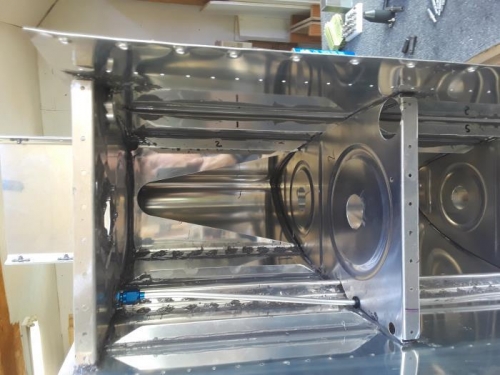
assembling the tank with sealant
|
|
|
|
|
|
|
|
|
Copyright © 2001-2024 Matronics. All Rights Reserved.
|