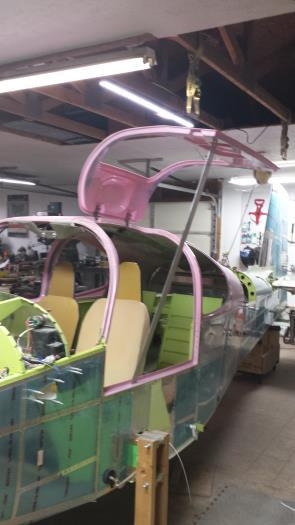
Hinge fitting went along reasonably well. With the door position held by the alignment tabs (aluminum triangles) positioning was easy with a little grinding of the hinge pocket to fit the hinge pin and allow a flat fit.
Once drilled and bolted the hinge allowed about 1/8" droop of the door. What was flush, was 1/8" low. A 1/8" aluminum shim brought the whole door up to flush and a better fit at the bottom of the door. I needed to adjust the bottom threshold of the door for a better fit with the grinder. I just matched the door lip bevel by taking off some of the rounded edge.
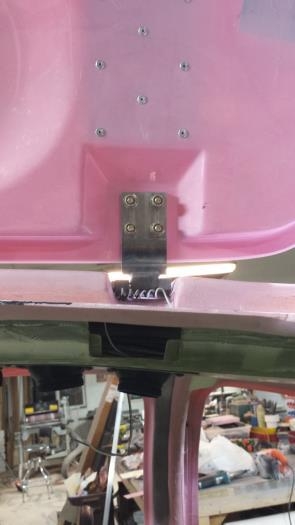
I had to notch out and make small covers on the overhead at the hinge pockets to easily access the upper door hinge inner nuts excepting one that interfered with the overhead air plenum. It was possible, but difficult to access the nuts without the modification. I was able to get the nut and washer on the exception by sticking them to a magnetic retrieval tool and reaching in. As I anticipate the door coming off and on several times in the building and life of the airplane, easy access is important. I needed some kind of finish cover over the inside of the hinge pockets anyways. I used door trim to fashion a cover, 5 min epoxied it to the edge of the overhead. cut them free with a Dremel, epoxied tabs made from fiberglass cutoffs, and drilled and tapped screws to reattach.