Next I squeegee in a quick layer of 5 mim epoxy to seal the foam. This has to be fast, and only a very thin coat as i just enough to wet the foam.
This is where I differ from the blogs I mentioned. I have no patience to wait 2 days for epoxy/micro to cure. I also have no patience for how hard it is to sand. So with the foam epoxy sealed, I go to Bondo which is polyester based.. Without the epoxy, Bondo will eat the foam and not stick. I use the bondo to fill in the gaps and build the surface. It hardens in 30 min and sands well in about an hour.
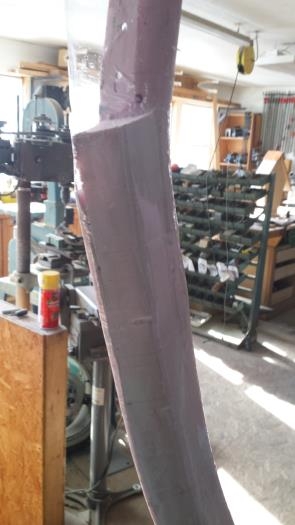
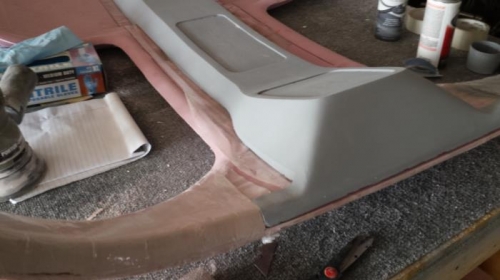
I sand the big/thick areas with power sander. Then finishing with hand sanding to refine the profile to the finish shape. All I am trying to do is creata a surface shape to lay the glass over. It dosn't need to be a perfect surface since I am laying glass over it and the outer face will be the finish surface (the 'A' surface in vehicle engineering speak) . Final prep is to cover the surface with packing tape.
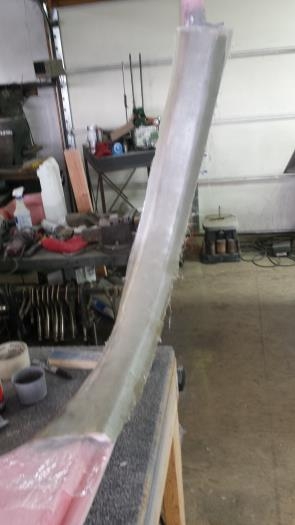
I cut all of the glass in a stack. Putting the stack on a layer of Saran wrap. The epoxy is poured on, another layer of Saran. A roller wets all of the glass between the Saran layers. I cut to shape with the Saran wrap in place. I peel one layer and lay the glass on the mold and smooth it out. Then I peeled the final layer of Saran. Perhaps next time I will leave it in place to see if the surface is better.
The last step will be to epoxy micro and sand to a finish surface after trimming and bonding into place. I this case I plan on covering with automotive interior fabric, so a flawless finish is not required.