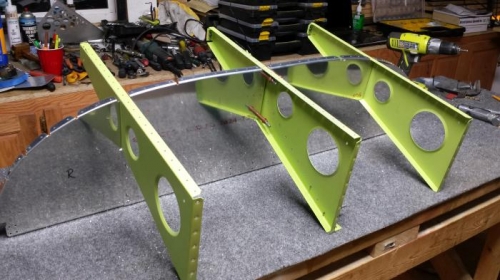
The reverse bend went well enough. I cut two 1 1/4" wide slats of hard wood. Setting one strip over and one under against the bottom flange and clamping the ends to the table, the bend was reversed in short order. The result wasn't perfect cosmetically, but good enough for under the instrument panel.
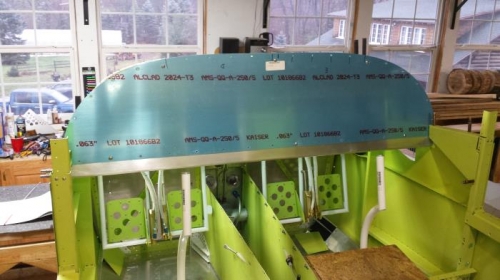
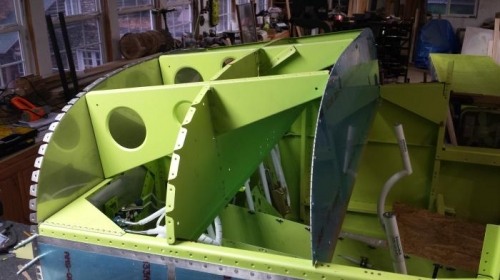
Assembling, drilling and deburing the balance of the assembly went well excepting the two short fluted instrument panel attach brackets. The instructions have you hold these up blindly behind the panel and match drill #40 to the skin. It is nearly impossible to tel the position accuratly. I marked a line on thebracket that I could see through the screw holes in the IP (Instrument Panel) while holding and drilling (and rubbing my head and patting my tummy). I still managed to get the end of one sitting on the flange of a rib. I was soo much easier to uncleco and remove the assembly from the fuselage and finish it up on the bench.
Things to watch: the IP is handed and only installs one way. The skin is handed and installs only one way (at least the plans clue you in here)