
|

|
|
|
Leos Web Site
|
Date: 10-15-2015
|
Number of Hours: 6.00
|
Manual Reference:
|
Brief Description: left/right side rear seat floors
|
|
Well it wasn't so hard to get the left floor out. It turns out the a small hook end probe in the rear corners pulled it right up. Careful working the center. pulling in select rivet holes while mildly twistinf and the floor came right out. One piece of advice to anybody reading this prior to your build, place the shop heads of all riviets in the tunnel walls facing inside. It is much easier sliding the floor past round heads rather than shop heads.
I insulated under the floors with 3/4" black foam (that is the max that will fit), reinserted the floor and started riveting. The outside edge was a real chore to buck as I can't get a hand down in there. In fact, you can hardly see in there without a mirrir to improve the viewing angle plus a flash light. The balanc of the rivets were quick and easy.
The right footwell floor has also been inserted, drilled, removed, deburred, scuffed, primed and the nut plates installed .... ready to go back in for riveting.
One other point, it is much easier to put in the rear footwell floor before the rear seat floor. The plans have you riveting in the rear edge of the seat floor and pulling the forward edge back to get at the rear edge rivets of the footwell floor. It gives only limited access. I will do the right side in the reverse order. Also because I still have yet to get the wife out to buck the right side tailcone rivets yet, I can't do the right baggage floor anyways.
|
|
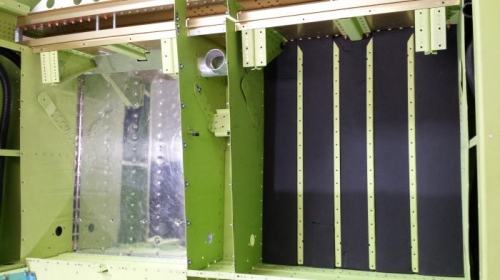
left i, right insulated
|
|
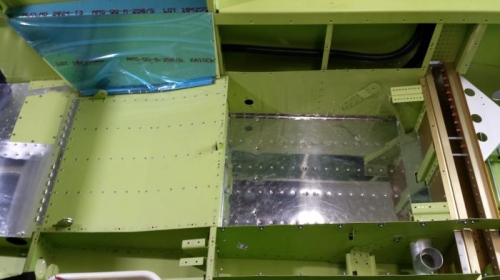
left side another view
|
|
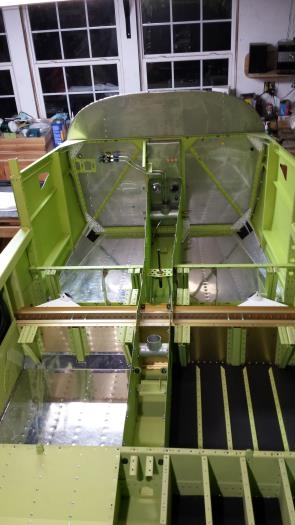
almost there
|
|
|
|
|
|
|
|
|
Copyright © 2001-2024 Matronics. All Rights Reserved.
|