During pre-assembly a lot of edge deburring is done, now comes all of the holes that were match drilled. I really like the "two way deburrring tool" I have the 3/32" version. I may have to spring for the 1/8" version. Hard to believe the tiny little tool is $114 ea..
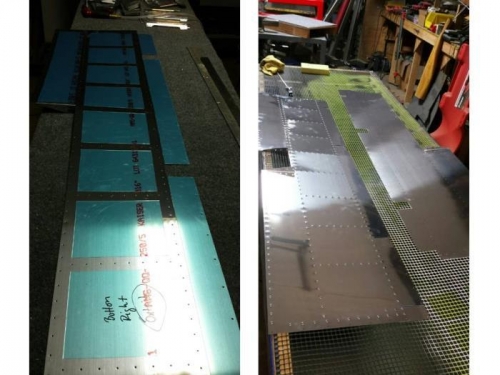
Based on reading other build blogs, plastic removal to the inner skin is easy with a piece of PVC pipe. Start the plastic around the pipe and roll it off. A hot soldering iron to score and then strip stripes on the outter skin. Works great. I also found that I had to polish the tip of the soldering iron to keep from making small scratches.
I made a new combo tool to both serve as a dimpling anvil and the special bucking bar. taking a piece of 1 1/2" x 3/4" steel bar about 18" long. One end I machined/ground and polished into a bucking bar for the rear spar rivets. The other end I drilled and counter sunk (using a 1/2" drill and a 1/2" mill to flatten the bottom) the other end to fit a dimple die. I then cut back and rounded the end to expose the die for tight places. I'll post a pic in the next log. Using the rivet gun with the die holding set, dimpling the flanges of the spars without distorting the bends was quick and easy. I have now decided the die holding set is fantastic if you keep the air pressure way low. Just enough to get a light easy hammering. Three hits and the dimple is done in the heavier material of the spars. I still don't fully trust it for the skins. Too easy to leave a dent/mark.