Brief Description: Shape the bottom of the fuselage
Removed the peel ply from the taped corners where the seat brace & heat duct mate with the instrument panel and seatback. Trimmed and sanded the taped joints.
Cut the map pocket to full size.
Positioned 3 sheets of foam over the bottom of the fuselage and trimmed the 3rd piece so that the 3 pieces were snug between front bulkhead F22 and the front landing gear bulkhead.
Moved the 3 pieces of foam to the worktable and used 5 min epoxy to permanently position the 3 pieces together.
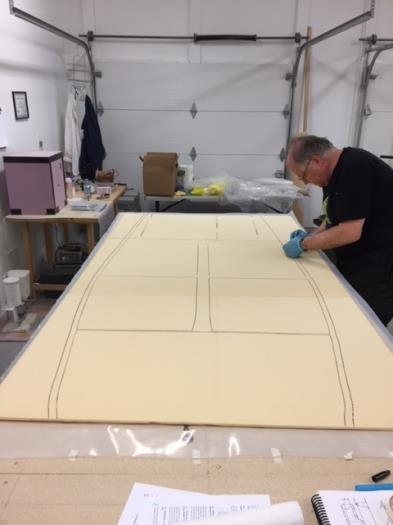
Moved the foam back to the fuselage, weighted it down, and went inside (underneath) and traced the inside of the bottom longerons, the seatbrace and heat duct, the instrument panel (both sides) and the front side of the seatback onto the inside surface of the foam floor.
Transferred the foam back to the work table and marked 3/4 " outboard of the bottom longeron tracings. Used a utility knife to cut out the fuselage bottom along this 3/4" line.
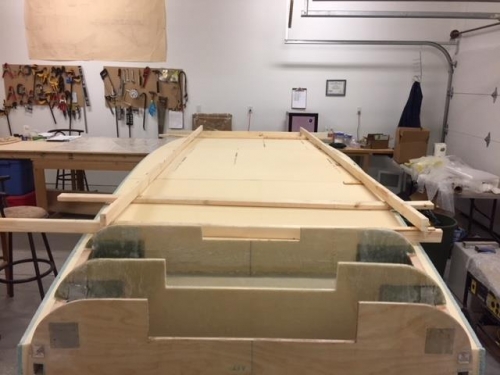
Positioned the fuselage bottom back in place on the fuselage and cut 1" x 2" boards as shown to hold the shape of the fuselage bottom when it is moved back to the worktable for contouring and glassing. These boards were secured to the fuselage bottom using 5 min epoxy.