Brief Description: Rudder stops and fuel tank calibration
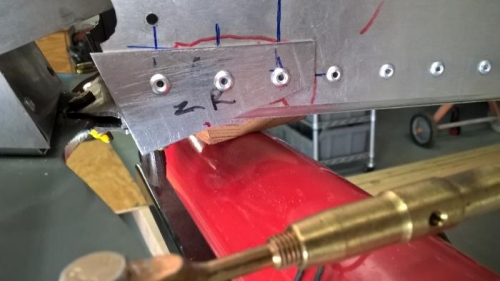
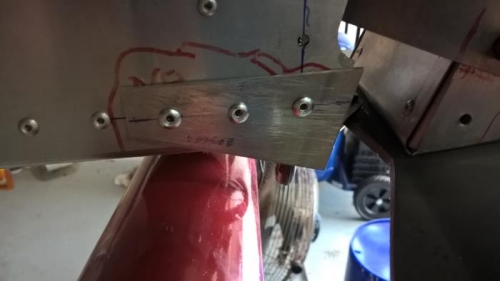
I thought putting the rudder stops in place wouid be a quick and easy task. What I had not thought about was getting the deflection for the rudder set to 20 degrees left and right. This took most of the time I spent on this task. I finally made a cardboard timplate with a centerline and then make lines at 20 degrees left and right using a protractor. Once I had this, I made a hole at the point where all the lines come together for the bolt that is in the bottom rudder hinge. I put the template on the bolt and put a tightened it with a nut. Then I checked to make sure the rudder was at its neutral position and I aligned the centerline on the template with the centerline on the bottom of the rudder. Now all this was required was to turn the rudder to the left and right and make sure I had the centerline of the rudder get to the 20 degree lines on the timplate. Once I confirmed this, I was able to set the stops in place and rivet them. Since I had some daylight left, I also decided to calibrate the left ruel tank. I did this the tank on the jig I built to mirror with wing dihedral and poured one gallown of water at a time and took readings with my ohm meter. Empty was 76.3 ohms and full was 12.4 ohms. Actually the 12.4 ohms was for 11 gallons but the last gallon did not change the reaading. This is to be expected because of the position of the fuel sender and the dihedral of the wing.