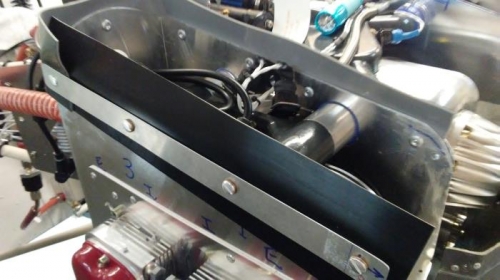
Watched the homebuilthelp video one more time on installing baffle material. Looks easy enough. They used rivets in the video due to get the screw bolts provided tight. The screw bolts are now supplied with washers so they should work fine. I also asked Roger about this and he said screw bolts were a better choice since at some point you will need to remove baffles to check valve clearances and other engine parameters. He said if you use rivets you will need to drill all of them out. Say no more, its screw bolts for me. I also added a 1" wide bracing piece shown in pictue to help hold down baffle material. This also used up some more of the extra spacing that the washers now take up. Getting screws in some of thiese places were somewhat challenging but if you take more time and dont get too frustrated every time you drop one down on the cylinder head then you will do just fine. Tomorrow will be spent doing left baffle. Zenith called me yesterday to tell me all the sensors had shipped so I shoiuld be getting them soom and can start putting them on enginer. Hopefully it will not be long until its time to start put in instruments.