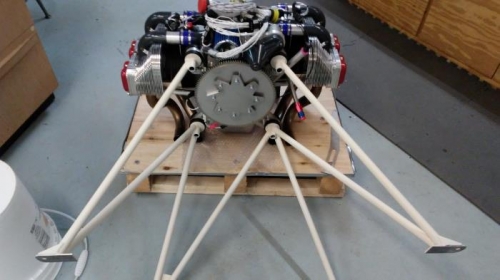
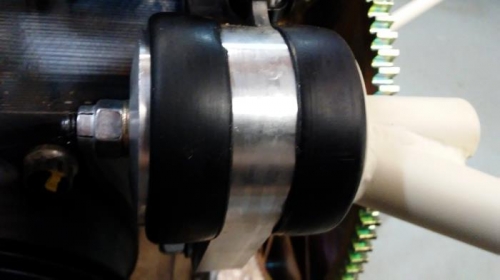
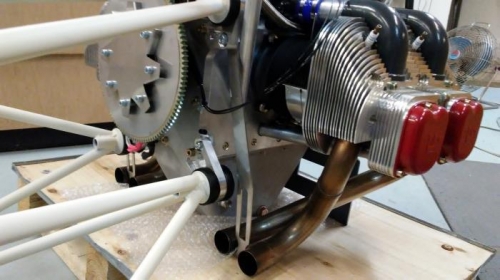
After painting engine mount with high temperature paint, I assembled the rubber washers and bolted them to the engine back plate. Once I had all of them installed, I torqued them to 45mm distance from outside rubber edge to outside rubber edge. When I got ready to install exhaust brackets, I noticed mine did not come close to matching what was shown in photo guide. I called Robert at UL Power to find out if I had the correct brackets. He informed me that they had changed the design on these brackets and mine were the right ones. He told me to look in the illustrated parts manual to see exactly how they were now installed. Heres something I have learned in my very short time so far in working with the UL engine. Many of the parts are in small bags and do not have any reference parts numbers on them. The packing list/inventory list has the parts numbers on each part but that does not really help much when yoiu are trying to find the part yoiu need amongst all the little plastic bags. Wtih the exhaust brackets, I got the part numbers for the bolts, washers and nuts off the packing list but I could not find them in any of the bags. However, UL mounts some of their hardware on the engine so you can find it if you know to look there first. Now you know. I also sent Roger a picture of new bracket mounting if they want to update the photo guide.