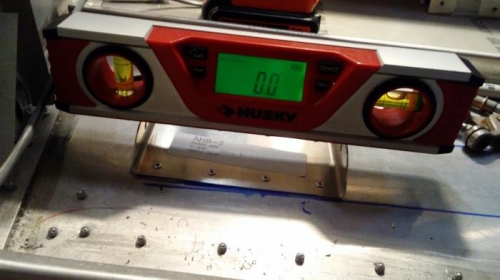
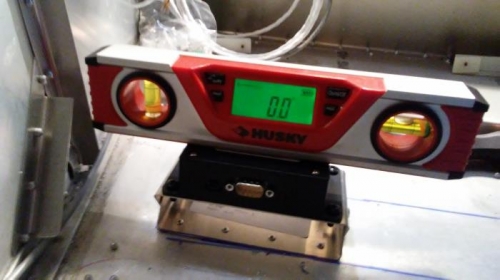
Nice weather today with temperatures in the mid 60's. Worked on getting ADAHRS mounted in rear fuselage. On the left side of the fuselage just forward of the bottom hatch, I mounted the lower mounting plate for the ADAHRS. Made sure fuselage was sitting level and then sat bottom mounting bracket in place. Left side was a little low so I added a shim under the left side. Drilled holes out to A4 and riveted bracket to fuselage. Photo 1 shows bottom mounting bracket after rivetting and as if by magic, it was sitting level! Then I mounted ADAHRS unit to the top mounting bracket. The top bracket gets attached with two small bolts thru the left and right side of the brackets. Photo 2 shows unit in place and screws installed. Once again as luck would have it, level from side to side. Now the last steip is to level unit front to back. Sat level in place and rotated unit until it was level and clamped it in place. Then I tighten the bolts. I still need to put a rivet thru one side of the bracket to keep brackets from any movement if bolts loosen. This idea came from a builder friend who learned about it during one of his inspections. It is a good tip and I'm glad he shared it on his website log.