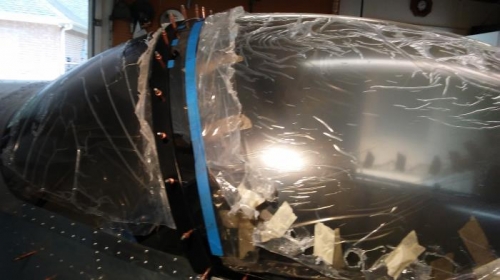
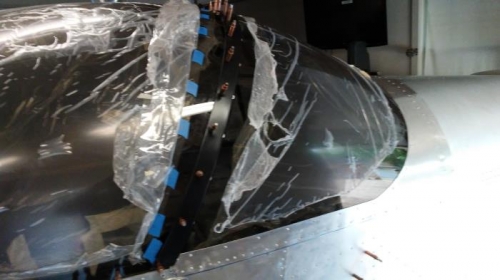
I decided that I would finish the canopy today. Still had much work to do but I thought it would be doable. Got trim pieces completed and drilled. Covered them with heat shrink tubing. Looks pretty good. Enlarged all the holes in the canopy for screws and rivets. Trimmed bottom of canopy sides even with bottom of side frames. Nexst I positioned front tube frame and riveted it to side frames with A5 rivets. Set canopy back into position and began installing trim pieces with screws and washers. This worked out ok. Moved to the front and installed front tube with screws and washers. Then I moved to the canopy side frames and riveted them along with the handles in place. Took about 8 hours to get all this done but I can now say the canopy is complete! It has been a long time coming and to me is a major milestone. As I look back on the canopy work, there are some things I would be different but for now it is installed and ready to fly. Well almost since I still need to put on the side cover pieces. But now I can focus all my attention on getting engine installed.