Brief Description: Setup for Horizontal Stablilizer Skin
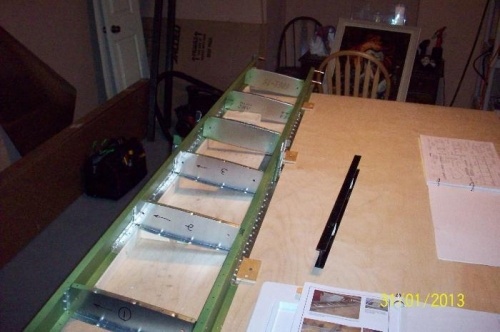
After finishing off the horizontal stabilizer skeleton, I decided to get a leg up on my next session by tacking the skeleton to the work table. The skeleton is now upside down, the front spar is propped up on the 1 inch (actually 3/4") side of a 1 x 2 which is screwed in along the edge of the table. The rear spar is held down firmly against the table with three screwed-in plywood scraps (from the crate again!) that overlap the rear lower flange. Finally, the whole skeleton is kept square through the use of 2 x 4 blocks screwed into the table which prevent the ribs from skewing off a square rig.
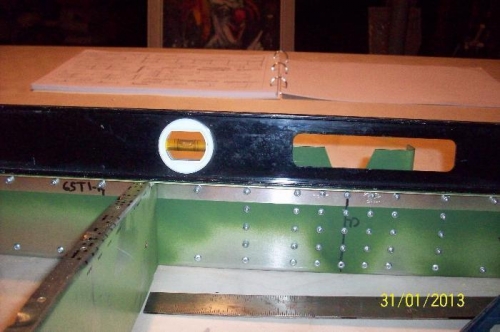
The good news is after all that is done and the skeleton is essentially immobilized in all 3 axes, it is level and square. Bring on the skin!
Firring strip (1 x 2) under the front spar, plywood holding down the rear spar.