Brief Description: Rudder Nose Skin drilled/Cleco-fastened
This morning I woke up ready to take on the rudder nose skin. This task involves drilling a rivet line into the nose rib of the rudder through an unmarked, unpilot-holed skin on a curved surface. I thought long and hard about this, read and re-read the plans and assembly instructions. Watched and re-watched the Homebuilthelp.com video. It was time to dive in.
It turns out that measuring 27 times/drilling once can actually work. However, I spent a lot of time between each drilled hole holding my flashlight staring up inside the nose skin recess to the nose spar. I also developed a good feel for 10mm by spending several minutes between each hole feeling the cleco tips along the inside of the rib and comparing them to another correctly drilled rib with clecoes in it. The result is a nice straight line with minor (perhaps imperceptible) adjustments in hole spacing to avoid the rib's indentations.
If I had it to do all over, I'd ditch the significant time spent measuring and cleco-feeling and do the following instead: 1. Fit the nose skin on to the rudder and drill/cleco it to the spar. 2. Remove the nose skin and measure/drill the nose rib rivet line with the plans-prescribed spacing/length. 3. Reattach the nose skin and mark the inside of the skin through the rib rivet holes. 4. Remove the nose skin (again) and drill the marked holes. 5. Reattach the nose skin (again!) and line up the skin holes with the rib holes.
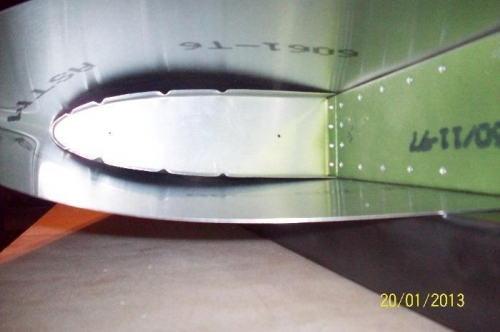
I'm not sure of this will work as there is some gap to smooth out between the skin and the rib (see image 2) that gets smoothed out as you sequentially drill and cleco the holes, but there's sure a lot less angst involved. Maybe I'll try this when I build my NEXT airplane (hah!)
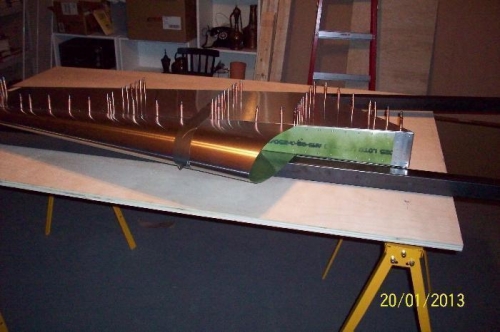
My nemesis - blind-drilling the nose skin.
It's a pretty tight squeeze in here!
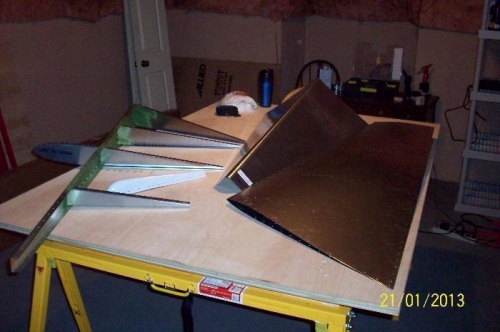
All disassembled and deburred. Next will be some trim work on the nose skin to fit the tip rib.