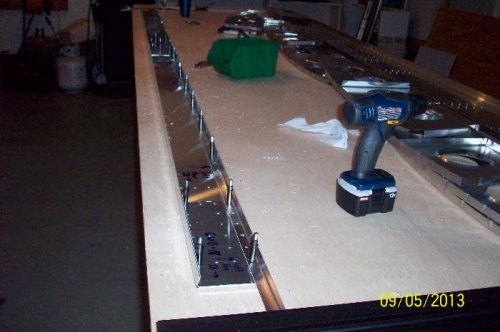
Finished assembling, clamping, drilling and clecoing the left wing rear channel. Lots of A5 rivet-sized holes to drill. My two Ni-Cad drill batteries almost ran out of juice. Going to pick up a lithium-ion battery later today.
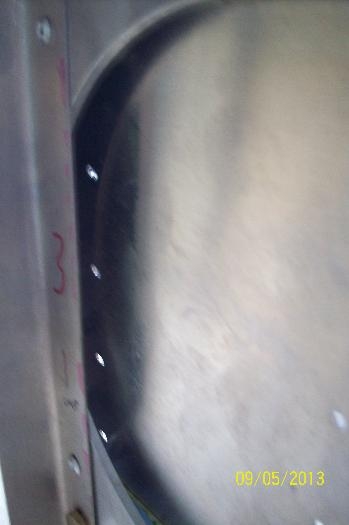
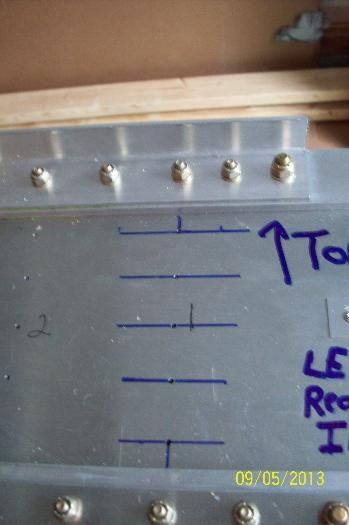
Started fitting the rear ribs to the main spar. One of the first things I'll need to do it to "joggle" the forward flanges and a small part of each rib's web so that it fits snugly, but not too tightly in between the two main spar flanges. However, while exploring the positions of the ribs, I noticed that the pilot hole rivet line for rear rib #1 is obscured by the crossing L angle at that location (see image 2). This makes aligning the rib, normally accomplished by sighting a centerine drawn on the rib flange through the pilot holes, more difficult. Instead, I'm going to align the rib by transferring the pilot hole positions to the rib flange by drawing extended lines along each pilot hole (horizontal and vertical) that I can then transfer to the rib flange (see image 3).
Left wing rear channel drilled out and assembled.
Preparing to fit rear ribs to left spar. Rear rib #1 is going to be hard to line up.
Parallel lines through all the pre-drilled main spar holes for rear rib #1.