
|

|
|
|
Kupe's Zodiac 650B
|
Date: 3-22-2013
|
Number of Hours: 2.00
|
Manual Reference: 6-W-1
|
Brief Description: Left Flap Ribs and Skin
|
|
I kicked off the wing construction by assembling the flaps. Beginning with the left flap, I labeled all the parts so as to not lose track of what part I'm working on. For example, the flap skins now have Sharpie writing on them like: IB, Top, Left, which describes the INBOARD edge and TOP of the LEFT flap. Now you should know what OB, Bottom, Right means. The flap ribs are also numbered (1 through 6) and an arrow pointing "up" which should align in the direction of "Top" when attached to the skins. It might sound silly, but there's so much flipping, rotating, assembly, dissassembly, and reassemby for parts like this that it's easy to make a mistake. The flanges of each rib are also marked with a Sharpie line down their length ~10mm from the edge to highlight their rivet line. All that marker ink washes right off with denatured alchohol when it's finishing time.
Once everything was appropriately labeled, I began assembling the left flap. Assembly consists of aligning the ribs inside of the pre-folded flap skin and clamping them in place with "handi-clamps" (see image 3). Proper alignment is determined by sighting the Sharpie lines on the rib flanges through the pilot holes in the skin that were pre-drilled at the Zenith factory. Once everything is set, out comes the power drill and each skin pilot hole is drilled through the rib flange and a cleco is applied to hold it in place.
This morning I finished the left flap drilling. Tomorrow I attach the flap hinge.
|
|
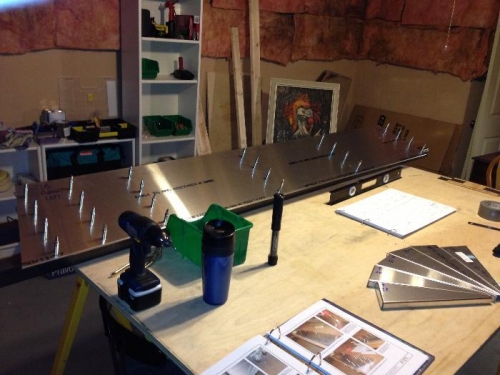
Lef flap bottom drilled and clecoed. Note the labeled right flap ribs in the foreground.
|
|
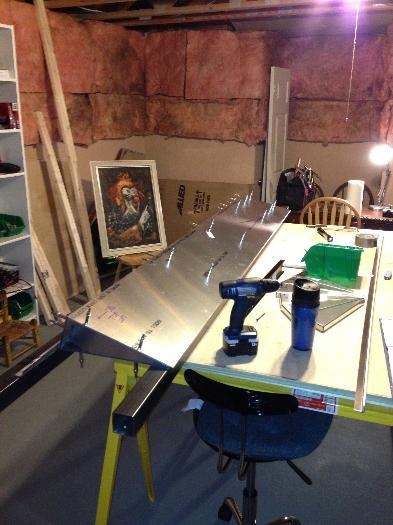
Left flap ribs and skins drilled and clecoed.
|
|
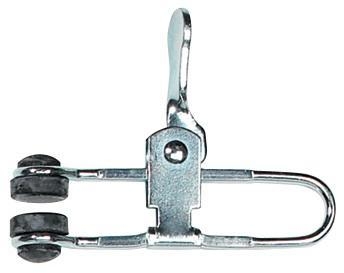
A handi-clamp. Easy to apply one-handed while the other hand is busy pinching two parts together.
|
|
|
|
|
|
|
|
|
Copyright © 2001-2024 Matronics. All Rights Reserved.
|