
|

|
|
|
Kupe's Zodiac 650B
|
Date: 2-21-2013
|
Number of Hours: 2.50
|
Manual Reference: 6-T-6
|
Brief Description: Trim Servo Access Cover
|
|
This morning I decided to learn something new by performing an optional task on the elevator: Install nut plates to hold removable bolts for the trim servo access plate. The photo assembly guide and the plans call for 8 x A4 rivets to attach the cover plate to the elevator, but the Hombuilthelp.com instructional video mentions that the cover can be riveted or screwed on. I figure I might need to get back into the servo opening some future day and it'll be a lot easier to remove 8 screws than it will be to drill out 8 rivets, lying on my back, under the plane. So...
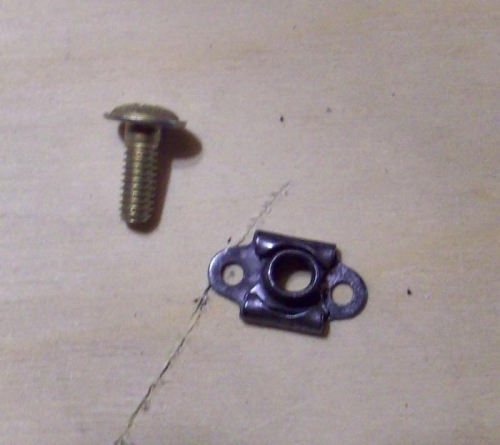
I cleco-fastened the nut plates (see Image 2) to the outside of the elevator skin through what will become the bolt hole on the nut plate and through the #40 pilot hole on the skin, originally drilled there for a rivet hole. Once clecoed in place, I straightened the nut plates, then marked their 2 side holes with a Sharpie. I removed the nut plates and drilled out pilot holes on the Sharpie marks. I reattached the nut plates using silver (pilot hole) clecoes with the nut plates on the inside to check fit.
Everything looked good to go, so I removed the nut plates, drilled out each of the 8 pairs of attachment (outer) pilot holes for A4 rivets and drilled out the 8 center pilot holes with a 3/16" bit and slightly oversized the holes. I then deburred and anti-corrosion painted (Cortec) the skin holes. While that was drying, I drilled out the outer pilot holes on each nut plate to A4 rivet size. Once the Cortec had dried, I clecoed each nut plate back in place with a single cleco on one of the outer holes, and riveted the other hole using the flat rivet head on the riveter. I removed the clecoes and did the other 8 outer holes on the nut plates. Once riveted in place, I filed the rivet heads smooth. Time for the test.
I attached the cover plate using 4 machine bolts with 4 washers and as you can see by Image 3, it fits like a glove.
|
|
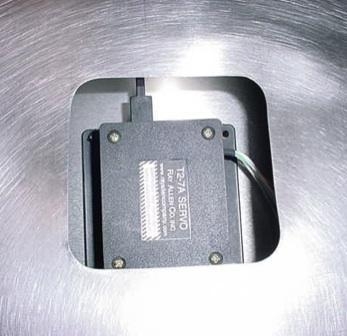
Here's the access hole on the underside of the elevator where the trim servo resides.
|
|
The access plate is attached to the elevator using bolts screwed into riveted nut plates.
|
|
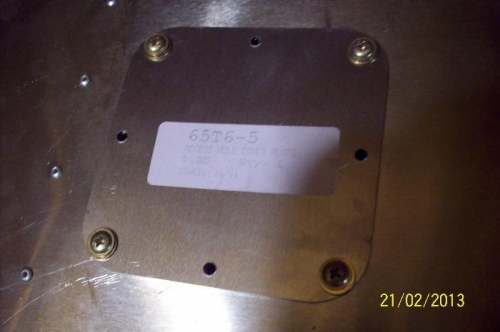
The access cover with 4 of the 8 bolts screwed into the installed nut plates.
|
|
|
|
|
|
|
|
|
Copyright © 2001-2025 Matronics. All Rights Reserved.
|