Applied some of the remaining vinyl overlay to the center console so it will match the instrument panel. Prior to this, I had painted the center console with a gray primer paint in case the vinyl didn't adhere well though the bend in the console. Turns out this was not a problem.
Once the vinyl was applied, I carved away at all the openings. The good news is re-drilling through the holes from the back side of the console made nice clean edges for all the drill-bit-sized holes. For the larger step bit-sized holes I just used my sharp cutting blade and while not perfect, they will look fine once the various switches and indicators are installed.
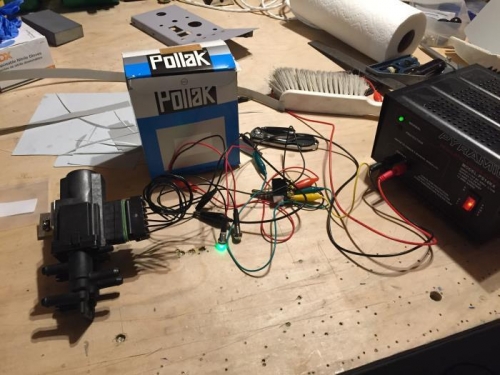
I also took the time to test out the electonic fuel selector. The selector only comes with a switch, but I want an indicator (besides switch position) to remind me of which tank I have selected. I purchased 2 small green LED lamps and tested out how to wire them up to the fuel selector switch by connecting everything to my 14 amp power supply. No surpises here.
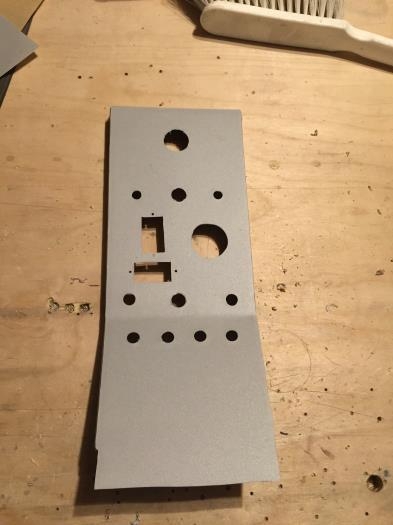
Center console, vinyl overlay in place, openings cut out.
Fuel selector valve wired up for a test and to see how my add-on indicator lights wire up.