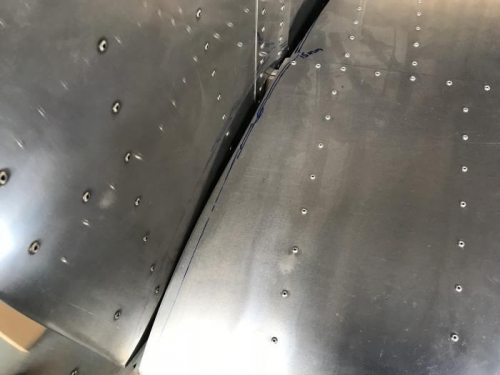
Started the process of fitting the left wing to the fuselage. This required all the various wires, connectors, cables, and hoses to be stowed out of the way to make a good initial fit against the fuselage to begin marking sections of wing top skin for trimming.
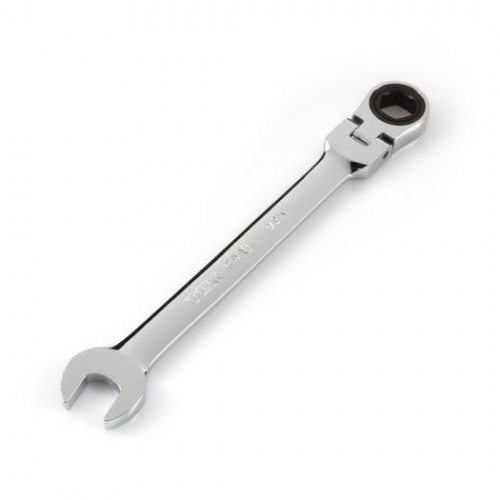
I also finished installing and torquing the right wing bolts. This ended up taking most of my time this session. The biggest single challenge was positioning myself so that I could put wrenches on both sides of the spar at the same time. Luckily, my arms are long enough to pull this off, but it required the purchase of a new wrench at Airplane (Home) Depot: a 1/2" flexhead, ratcheting, combination wrench. This helped me get up into the really tight spots to hold a nut or bolt stationary while I used my socket or torque wrench to do the work. It took close to 90 minutes to get all 6 bolts torqued.
Left wing root with preliminary trim line for the top sking of the wing.
Here's what a flexhead, ratcheting, combination wrench looks like. This helped immensely.