
|

|
|
|
Kupe's Zodiac 650B
|
Date: 8-17-2016
|
Number of Hours: 2.00
|
Manual Reference:
|
Brief Description: Center Console Wiring Completion 1
|
|
In preparation for adding the ECU power switch to the center console, I decided to take a day and secure all the wiring coming up from the center console into the avionics bay area. At the suggestion of my Tech Counselor, I'm using cable tie mounts to hold the wire bundles in place. The mounts are little plastic devices that can be attached to a surface by epoxy, a bolt, or a rivet. For this job I chose rivets. I also added the headphone and microphone jacks to their spots on the center console to add their wiring to the mix.
To make sure the rivets don't overstress the plastic cable tie mounts, I inserted #4 machine screw-sized washers into a small indentation in the mount that appears to be designed to hold them. Holding wires into the position I want them, I determined where the mounts should be located, drilled a rivet hole, deburred it, then attached the cable tie mount to the avionics shelf surface.
Once each mount was in place, I threaded a zip-tie through the mount (see image 1), place a wire bundle in position on the mount, then tightened the zip-tie to secure the bundle in place. Works like a champ!
With the center console wiring mostly under control now, I went ahead and riveted the center console into place.
|
|
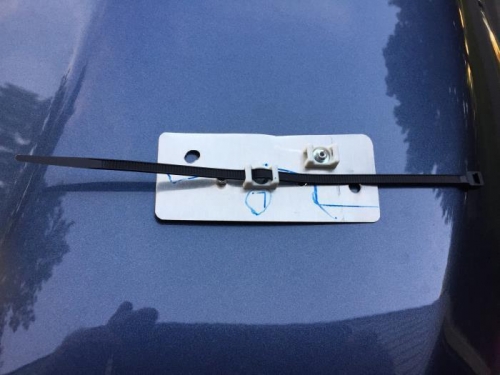
Cable Tie Mounts on a piece of scrap metal to test how secure they will be.
|
|
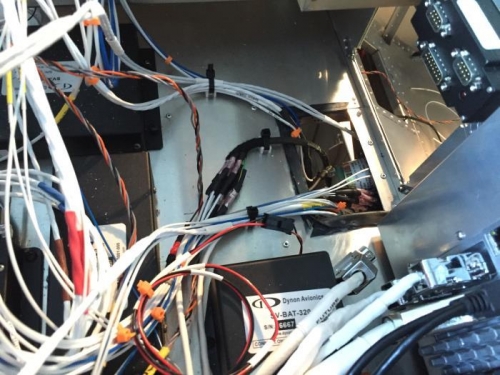
Three cable tie mounts installed with center console wiring secured in place.
|
|
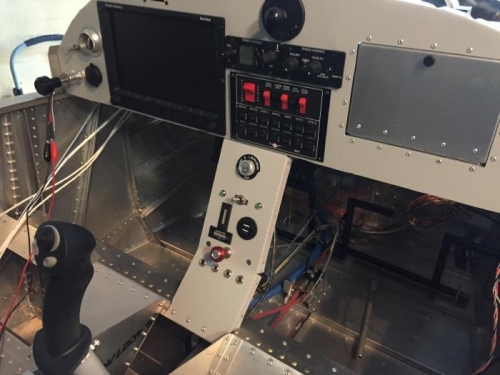
Center console riveted into place with everything but the ECU switch and indicator light installed.
|
|
|
|
|
|
|
|
|
Copyright © 2001-2024 Matronics. All Rights Reserved.
|