Continued wiring the control stick. One of my challenges has been deciding how to route the stick grip wiring (I'll be using 9 of the 10 wires) to attach to radio PTTs (pilot and pax), transponder ident, and 4-way trim through a relay deck. I also have to keep in mind where to position the relay deck so that it can be accessed for any number of reasons. Today, I finally came up with a design in which I:
- Mount the trim relay deck to the top of the glove box. - Run the aileron and elevator trim wire cables down to the center console and wire directly to indicators. - Attach a wire to the two servo leads at the end of each trim wire cable and run them backup to the trim relay deck - Run power and ground as required from each location (Indicators, stick, servo relay deck).
This was not easy to figure out!
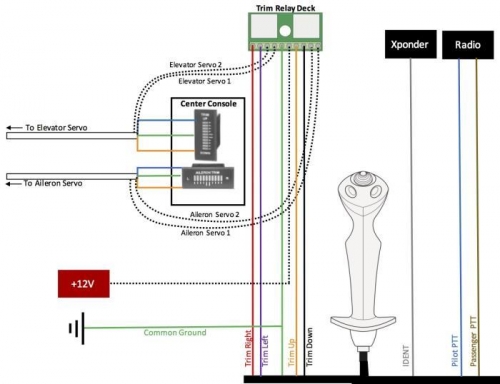
The plan for connecting the stick grip, trim indicators, trim servo relay deck, radio, and Xponder.
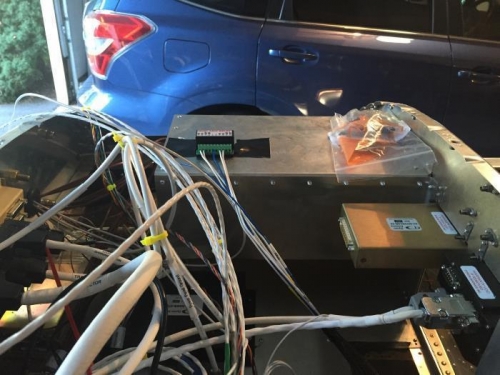
Aileron and elevator trim servo on top of glove box - will be bolted on when finished.
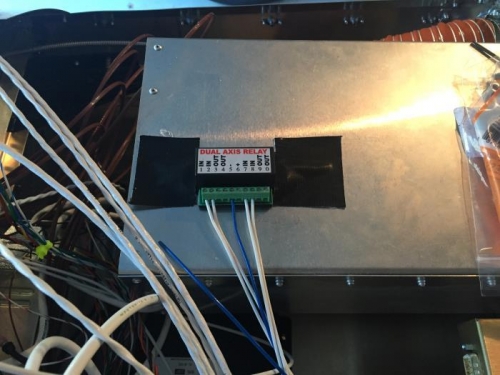
Close up of the trim servo relay deck with some of the wires connected.