Brief Description: Right Leading Edge Debur, Sand, Paint
Performed final prep on the leading edge skin for attachment to the bottom side of the wing. I had started deburring yesterday with the outside of the skin, so today I flipped the skin over to debur the inside surfaces. I also deburred all the edges and sanded them smooth and sanded all the surfaces to be painted with corrosion control paint. I painted all the mating surfaces and reattached the skin after everything dried.
I also decided to rivet the flap while I had the wing upside down. I deburred, filed, sanded, and painted the hinge. I also pulled out the hinge pin as a test to see how easy it would be to get back in as I would prefer to store the wing with the flap removed. The pin came out fine, but I had a heck of a time attempting to get the pin back in. I ceased work and went looking on the web for a solution which I will try tomorrow: parafin wax on the pin, start it into the hinge, then chuck the other end into an electric drill and "screw" it back into place. Hopefully this will work.
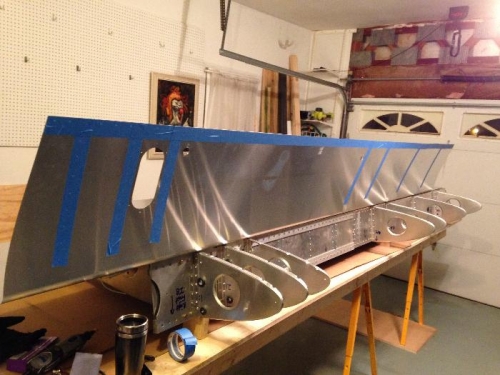
Outside surface of the leading edge skin after deburring - taped to prevent paint bleed-thru.
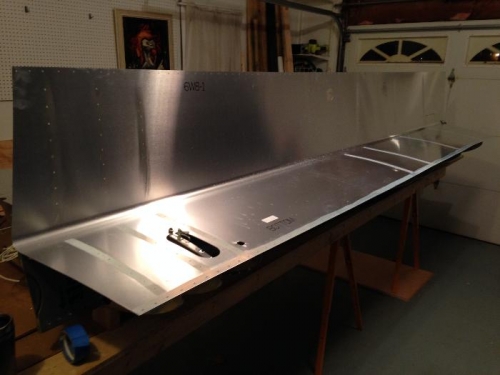
Inside of the leading edge with the wet paint on all the mating surfaces.
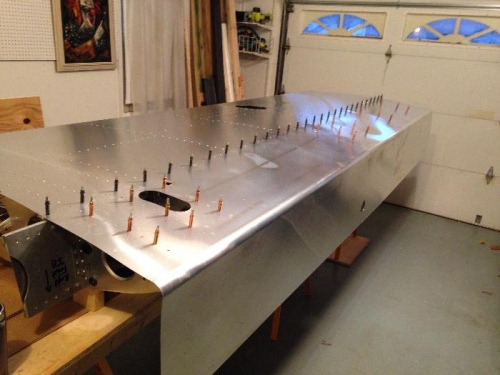
Reattached leading edge skin - ready for riveting.