Brief Description: Right Wing Bottom Skin Drill Out
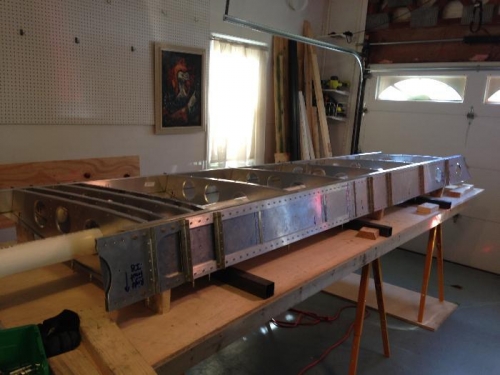
Started the day off by flipping the right wing over to install the bottom skin. Using my locking ceiling hoists and a PVC pipe through the lightening holes, it was a straighforward task to get the wing flipped. I then stood the wing up on the special wood blocks (from the plans) that hold the wing at just the right angle so that a level reads true. Once it was all leveled up to within 0.1 degree all around, my wife and I headed back to the basement to bring the bottom skin up to the garage.
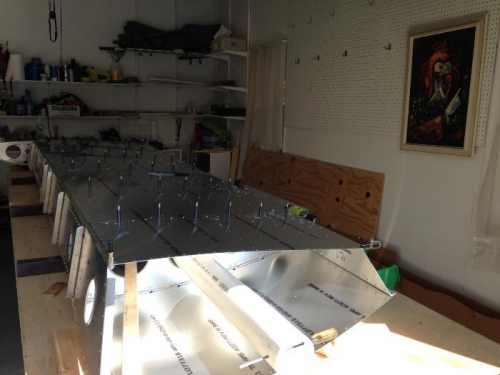
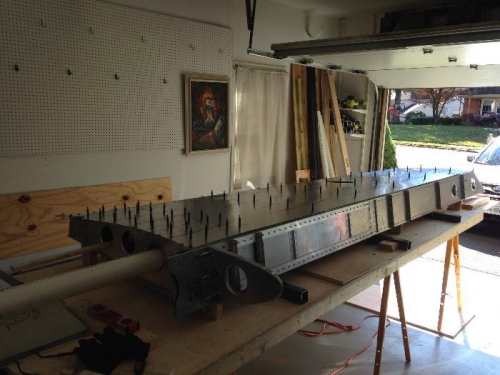
With the top skin already drilled out and clecoed in position, the bottom skin was even easier to install. It took a few minutes to get the skin and skeleton to align just right, then the drilling started. I began by drilling every 3rd hole with a pilot-sized bit until I had the entire skin attached, then I went back over the holes I skipped and updrilled them to 5/16" - the final A5 rivet size - since there's no more fitting to be done with the bottom skin and I didn't want to run out of pilot-sized (3/32") clecoes before I got the leading edge skin drilled out.
Right wing skeleton flipped upside down (using my hoists and PVC pipe) all leveled up.